Italian Cream Stuffed Cannoncini
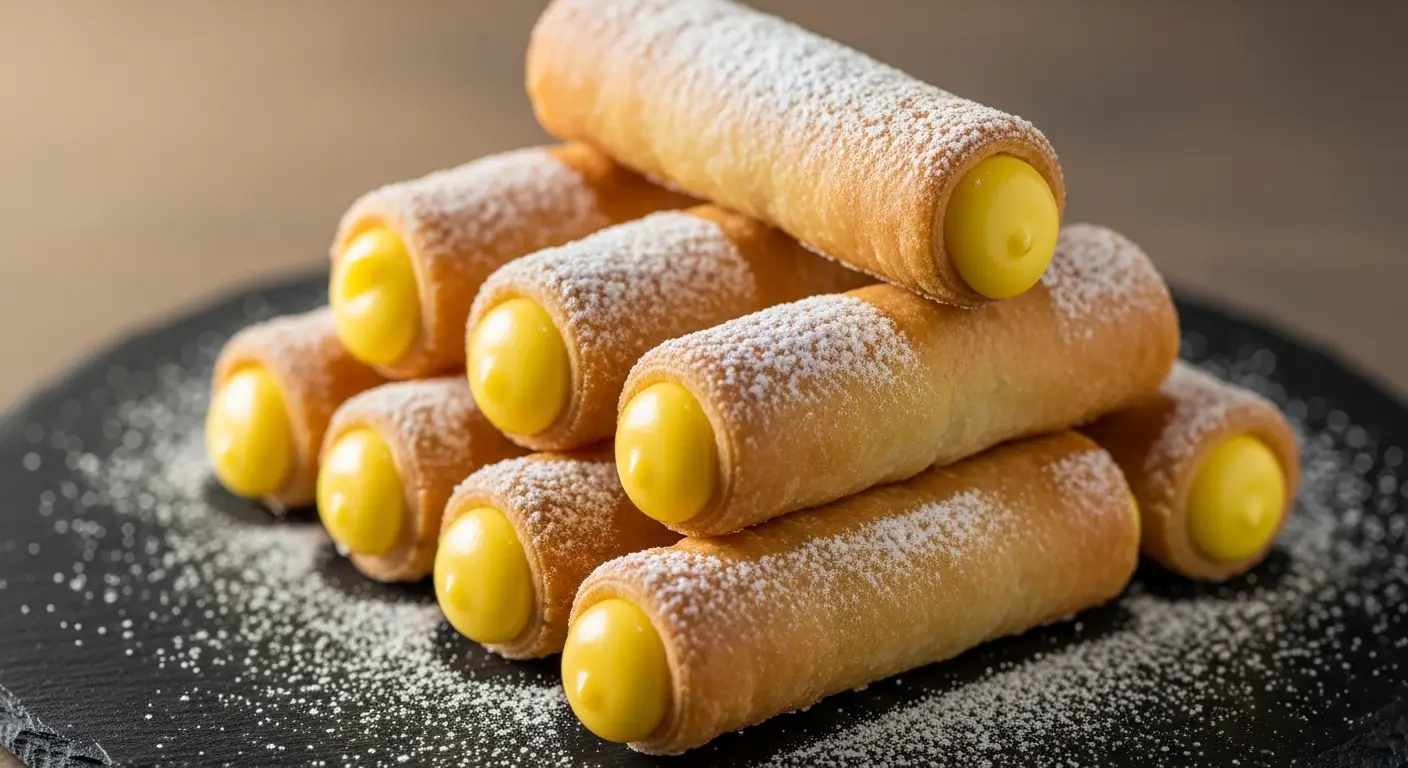
Italian Cannoncini are one of the best treats you can find in a bakery. They look like tiny horns made of shiny, golden pastry. Inside, they hold a thick and sweet cream that melts in your mouth. Many people call them cream horns, but the Italian style is extra special because of the flaky puff pastry and the rich vanilla scent. You might think they are too hard to make at home, but I promise they are not. Once you learn a few simple tricks, you can make them for any party or just for a fun snack.
In this guide, I will show you every single step to get that perfect crunch. We will talk about how to wrap the dough and how to make a cream that does not run out. You do not need to be a master chef to do this. I have made these many times, and even my first batch tasted great even if they looked a bit funny. By the time you finish reading, you will be ready to bake a tray of these beautiful pastries yourself. Get your rolling pin ready and let us start baking!
Ready to see how easy it is to make these delicious Italian sweets?
Everything You Need for Your Cannoncini
Before you start, you need to gather your tools and food. Having everything on your counter makes baking much more fun and less messy. For this recipe, the star is the puff pastry. You can buy it at the store to save time. Using store-bought dough is a smart move because making it from scratch takes all day. I always keep a box in my freezer for when I want something sweet fast. You will also need some metal cones to wrap the dough around. If you do not have them, do not worry! I will tell you how to make your own with foil later on.
The cream is the second most important part. It needs to be thick so it stays inside the pastry. Most Italian bakeries use a pastry cream called Crema Pasticcera. It uses eggs, milk, and sugar to make a custard that tastes like a cloud. Make sure your eggs are fresh for the best flavor. I once used old eggs and the cream did not set right, so fresh is always better. Let us look at the list of things you need to put on your grocery list.
The Ingredient List

- One pack of frozen puff pastry (thaw it in the fridge first)
- 2 cups of whole milk (fat makes it taste better)
- 4 large egg yolks (keep the whites for an omelet later!)
- 1/2 cup of white sugar
- 1/4 cup of cornstarch (this thickens the cream)
- 1 teaspoon of vanilla extract or one vanilla bean
- 1 egg for the egg wash
- 2 tablespoons of coarse sugar for the crunch
- Powdered sugar for dusting on top
Each of these items plays a big role. The cornstarch is very important because it stops the cream from being runny. If you skip it, your cream will be like soup! The egg yolks give the cream a beautiful yellow color and a rich feel. I love using whole milk because it makes the dessert feel like a real treat. If you want a lighter version, you can use low-fat milk, but the taste will not be as deep. This list makes about 12 to 15 cannoncini depending on how big you wrap them.
The Tools You Need

To get that horn shape, you need metal cream horn molds. They are usually cheap and come in packs of six or twelve. If you are a beginner, these are a great investment. I also recommend a pizza cutter. It makes cutting the long strips of dough so much easier than using a regular knife. A regular knife can pull the dough and mess up the layers. A rolling pin is also a must to make the pastry thin and even.
You will also need a pastry bag with a round tip. This is how you get the cream deep inside the horn. If you do not have one, a plastic zip bag with the corner cut off works just as well. I used a plastic bag for years before I finally bought real piping tips. Another helpful tool is a cooling rack. Letting the pastry cool on a rack keeps the bottom from getting soggy. Clean tools make the job go fast and keep your kitchen happy.
Recipe Quick Info
- Prep Time: 40 minutes
- Cook Time: 20 minutes
- Servings: 12 cannoncini
- Difficulty: Medium
How to Make Perfect Pastry Horns
Making the shells is the hardest part, but it is actually quite fun. Think of it like a craft project. You take the dough and turn it into something that looks like art. The trick is to keep the dough cold. If the puff pastry gets too warm, the butter inside melts. When that happens, the pastry will not puff up in the oven. It will just be a flat, greasy mess. I always put my dough back in the fridge for ten minutes if I feel it getting soft.
When you wrap the dough, you want the edges to overlap just a little bit. This holds the shape together while it bakes. If you leave gaps, the cream will leak out later. It took me a few tries to get the overlap right. My first ones looked like springs because I didn’t overlap enough! Don’t worry if yours aren’t perfect. They will still taste amazing with the cream inside. Let us walk through the steps to get these in the oven.
Preparing the Dough

First, take your thawed puff pastry out of the box. Lay it on a flat surface with a little bit of flour. Use your rolling pin to stretch it out just a tiny bit. You want a big rectangle. Take your pizza cutter and cut the dough into long strips. Each strip should be about one inch wide. Try to keep them straight so the horns look even. If the dough starts to stick to the table, add a tiny bit more flour under it.
I find that cutting the strips all at once is the best way to work. It helps you see how many horns you can make. If you have leftover scraps, do not throw them away! You can bake them with cinnamon and sugar for a quick snack. Once the strips are cut, you are ready for the wrapping part. This is where the magic happens and your flat dough starts to look like a bakery treat. Keep your strips cool while you work on one at a time.
Wrapping the Cones

Take one metal cone and one strip of dough. Start at the pointy end of the cone. Wrap the dough around the tip and slowly move up toward the wide end. Make sure each wrap covers the edge of the one before it. Stop about half an inch before you hit the top of the metal. This makes it much easier to pull the metal out after they bake. If you wrap it all the way to the edge, the dough might get stuck on the rim.
Press the end of the dough strip down firmly so it stays stuck. I usually place the cones on a baking sheet with the “seam” side down. This weight keeps the dough from unwrapping in the heat. Leave some space between each cone on the tray. They will grow in the oven! If they touch, they will stick together and break when you pull them apart. Practice makes perfect here, so keep going until all your strips are used up.
Baking to Golden Perfection

Before you put them in the oven, brush the tops with a beaten egg. This egg wash is the secret to that shiny, dark gold color. Sprinkle some coarse sugar on top if you want an extra crunch. Bake them at 400 degrees for about 15 to 20 minutes. You want them to look very golden. If they are pale, they might be soft and soggy inside. A good cannoncini should shatter a little bit when you bite it.
One mistake I made once was taking them out too early. They looked done on the outside, but the middle was still raw dough. Give them that extra minute to get really crispy. Once they are done, let them sit on the tray for five minutes. Then, gently twist the metal cone to pull it out. If you wait until they are totally cold, they might stick to the metal. Be careful because the metal will still be hot! Use a towel to hold the cone while you pull.
Pro Baker Tips
- Keep it Cold: Always work with cold dough to get the best layers.
- Sugar Crunch: Use turbinado sugar for a bakery-style look on top.
- Gentle Twist: Twist the mold slightly before pulling to avoid breaking the pastry.
The Secret to Rich Italian Cream
Now that the shells are cooling, it is time to make the filling. Italian pastry cream is much better than whipped cream. It is thick, yellow, and has a deep vanilla flavor. It is like a cooked pudding but much more fancy. The key is to cook it slowly so the eggs do not scramble. You want a smooth sauce, not breakfast eggs! If you see little lumps, you can always pour the cream through a sieve to fix it.
I remember the first time I made this, I turned the heat up too high. The bottom burned and the whole thing smelled like smoke. IMO, medium-low heat is your best friend here. It takes a little longer, but it is worth the wait. You have to stir the whole time. Don’t walk away to check your phone! Constant stirring makes the cream silky and perfect. Let us see how to make this delicious filling.
Mixing and Cooking the Custard

Start by heating the milk in a pot until it is hot but not boiling. While that heats up, whisk your egg yolks and sugar in a bowl until they look pale. Add the cornstarch and whisk until there are no white clumps left. Slowly pour a little bit of the hot milk into the egg bowl while whisking fast. This “tempering” warms the eggs up slowly so they don’t cook too fast. Then, pour everything back into the pot.
Cook the mix on the stove and keep whisking. After a few minutes, it will suddenly get thick. It feels like magic when it happens! Once it looks like thick pudding, take it off the heat and stir in the vanilla. Move the cream to a clean bowl. Cover the surface with plastic wrap so a skin doesn’t form. Let it cool on the counter, then put it in the fridge for at least two hours. Cold cream is much easier to pipe into the horns than warm cream.
Filling Your Cannoncini

Once the horns and the cream are both cold, you can fill them. Put the cream into your pastry bag. Stick the tip of the bag deep into the horn and squeeze. Slowly pull the bag out as the horn fills up. You want the cream to go all the way to the tip. If you only fill the ends, people will be sad when they get to the middle! I like to let a little bit of cream peek out the end so it looks pretty.
Do not fill them too early. If they sit with cream inside for many hours, the pastry will get soft. For the best taste, fill them right before you want to eat them. This keeps the shell crunchy and the inside cool. If you are having a party, you can have the shells and cream ready, then fill them quickly when guests arrive. It only takes a few minutes once you get a rhythm going. Trust me, the crunch is the best part of this whole dessert.
Serving and Toppings

To make them look like they came from a fancy Italian shop, dust them with powdered sugar. Use a small sifter to get a light, snowy look. You can also dip the cream ends into chopped nuts or chocolate chips. My kids love it when I dip them in colorful sprinkles. It adds a bit of fun to a classic treat. You can serve these on a big platter with some fresh fruit on the side.
These go great with a cup of coffee or a glass of cold milk. FYI, they are very messy to eat, so give everyone a napkin! The flaky layers will get everywhere, but that is how you know they are good. I think they look best when piled up in a pyramid shape. It makes a great centerpiece for a holiday table. Everyone will be impressed that you made these from scratch. Just be ready to share the recipe!
Common Questions About Cannoncini
People often ask me if they can change the recipe. Yes, you can! You can add chocolate cocoa powder to the cream to make chocolate filling. Some people like to fold in some whipped cream to make the filling lighter. This is called Diplomat Cream. It is very tasty but a bit softer. If you use it, the horns might get soggy faster, so eat them quick! Here are some other things people usually wonder about when baking these treats.
Can I make these without metal cones?
Yes! Roll up pieces of aluminum foil into cone shapes. Make them thick so they hold the dough. It works just as well as the metal ones.
Why did my pastry stay flat?
The dough was likely too warm. The butter inside needs to stay cold to create steam and lift the layers. Try chilling the dough before baking.
How long do they stay crunchy?
Once filled, they stay crunchy for about 2 to 4 hours. After that, the moisture from the cream softens the pastry. Fill them right before serving.
Can I use different fillings?
Sure! You can use chocolate mousse, lemon curd, or even sweetened whipped cream with berries. Just make sure the filling is thick enough.
Can I freeze the finished shells?
Yes, you can freeze the empty baked shells in an airtight container for a month. Warm them in the oven for a few minutes to crisp them back up.
Time to Enjoy Your Italian Treat
Making Italian Cream Stuffed Cannoncini is a wonderful way to bring a taste of Italy into your home. It takes a little bit of time and patience, but the result is a beautiful, crunchy, and sweet dessert that everyone will love. Remember to keep your dough cold and your cream thick. Now go grab your rolling pin and start baking these amazing treats!