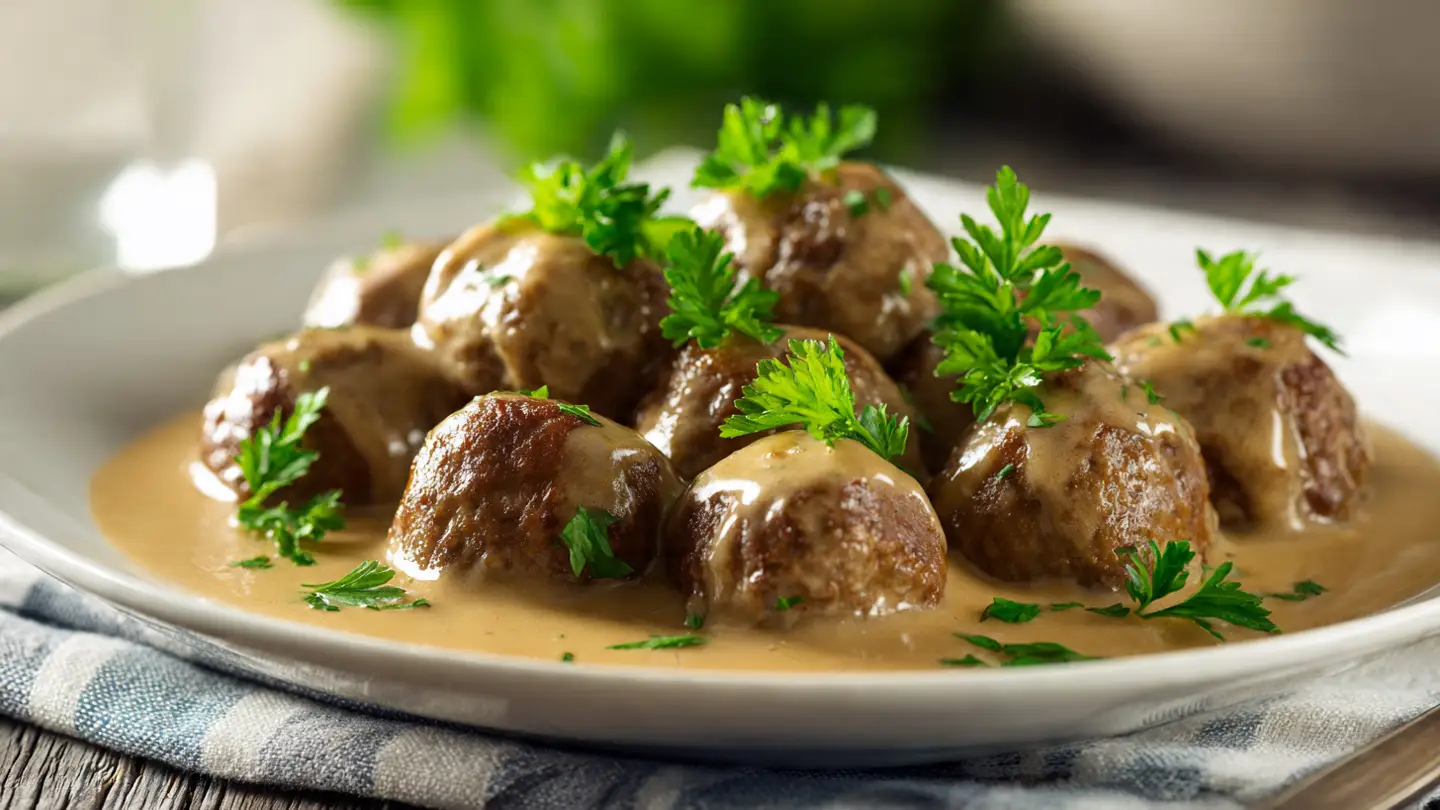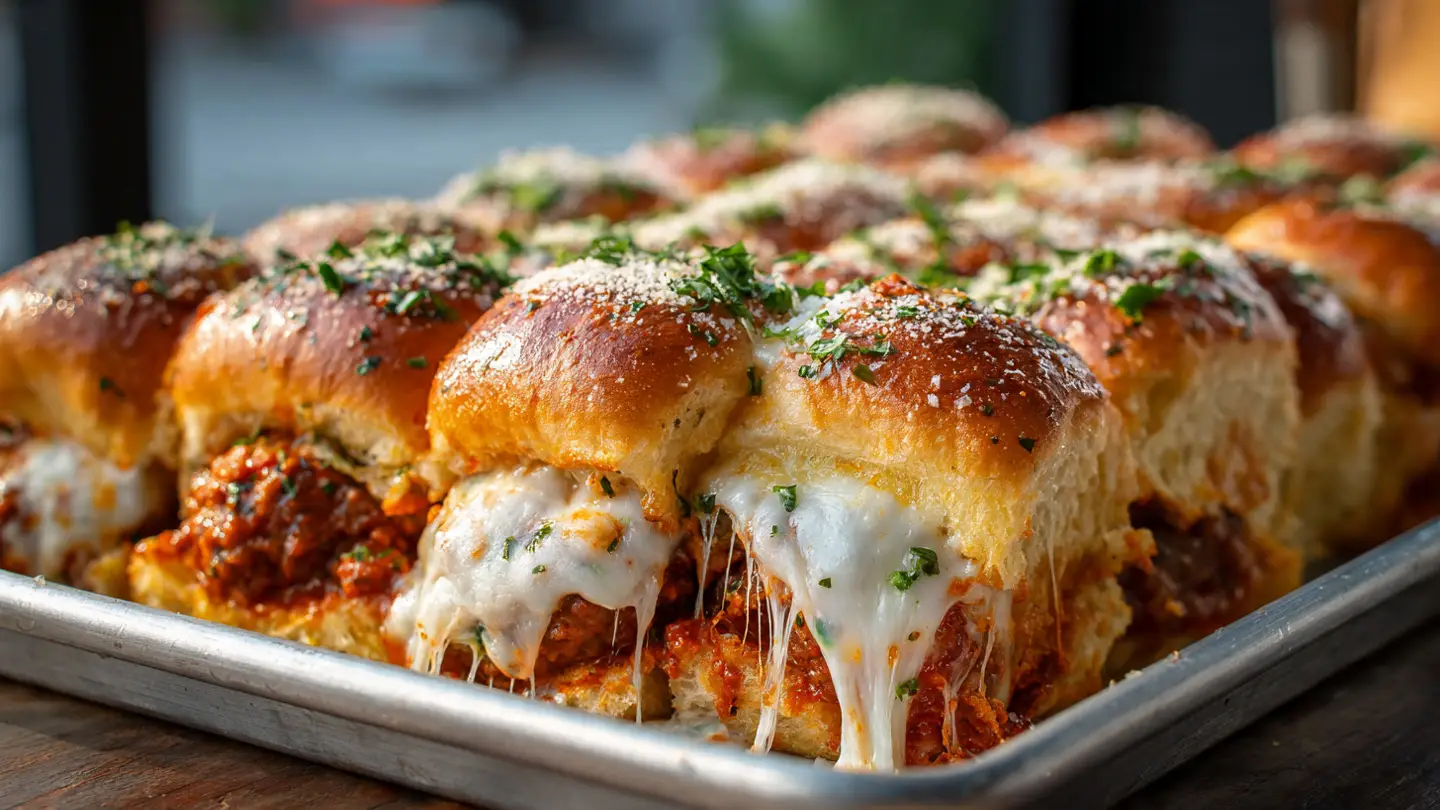
Meatball Parmesan Sliders
Are you looking for a meal that everyone will love? Meatball Parmesan Sliders are the perfect answer. These tiny sandwiches are packed with flavor and gooey cheese. They work great for a big party or a simple family dinner on a busy Tuesday night. I love making these because they do not take much time but they taste like you spent all day in the kitchen.
In this post, I will show you exactly how to make these sliders from start to finish. You will learn what bread works best and how to keep the bottom from getting soggy. We will talk about the best cheese to use and how to get that perfect golden crust on top. By the end of this guide, you will be a slider expert and your friends will keep asking for more.
Get your apron ready and let us start cooking some delicious food!
Try this recipe today and see why it is my favorite way to feed a crowd.
Recipe Quick Info
- Prep Time: 15 minutes
- Cook Time: 25 minutes
- Servings: 12 sliders
- Difficulty: Very Easy
The Best Ingredients for Tasty Sliders
Before we start cooking, we need to gather all the right stuff. The ingredients you pick will change how the sliders taste. I like to use things that are easy to find at any grocery store. You do not need fancy tools or expensive food to make these taste like a dream. Keeping things simple is the secret to a great meal that does not stress you out. Most of these items are probably in your pantry or fridge right now.
The Meatballs You Need

The meatball is the star of the show here. You have a few choices when it comes to the meat. You can buy frozen meatballs at the store to save time. This is what I do when I am in a hurry. Just make sure you thaw them out first. If you use frozen ones, the Italian style usually has the best herbs for this dish. They are small and fit perfectly on the little rolls.
If you have more time, you can make them from scratch. I usually mix ground beef and ground pork to keep them moist. One time I used only very lean beef and the meatballs came out a bit dry. It was a good lesson to learn. Now I always make sure there is a little bit of fat in the meat. This makes the sliders much more juicy and soft when you take a bite.
Picking the Perfect Bread

The bread is just as important as the meat. For sliders, I always use sweet Hawaiian rolls. They come in a pack of twelve and stay stuck together. This is helpful because you can slice the whole pack in half at once. It saves so much time compared to cutting each small roll one by one. The sweetness of the bread tastes great with the salty cheese and tangy sauce.
You can also use small brioche rolls if you want something a bit richer. I once tried using crusty dinner rolls, but they were too hard. When I bit into the slider, the meatball popped out the back! That was a messy mistake. Soft bread is the way to go because it squishes down just right. You want the bread to hold the sauce without falling apart in your hands.
Choosing the Right Cheese

Cheese is what holds everything together. For Meatball Parmesan Sliders, you need two kinds of cheese. Mozzarella is the first one. It melts really well and gives you those long cheese strings when you pull a sandwich away. I like to use slices of mozzarella on the bottom and shredded mozzarella on top. This creates a cheese blanket that keeps the meatballs in place.
The second cheese is Parmesan. This adds a sharp and salty taste that mozzarella does not have. I sprinkle it over the top of the buns before they go in the oven. It creates a nice crust. FYI, fresh cheese that you grate yourself melts much better than the stuff in the green can. If you want the best sliders, take a minute to grate a block of cheese. It makes a big difference in the texture.
How to Put the Sliders Together
Now that we have our ingredients, it is time to build the sandwiches. This part is like a fun puzzle. You want to layer things in the right order so the bread stays crispy and the cheese gets melted. Building them all at once in a baking dish is the easiest way. It makes clean up much faster too. I like to use a 9×13 inch pan because the rolls fit perfectly inside without much extra space.
Preparing the Rolls

Start by taking the rolls out of the bag. Do not pull them apart yet. Take a long bread knife and cut the whole block in half sideways. You should have one big sheet of tops and one big sheet of bottoms. Place the bottom sheet into your baking dish. I like to put a little bit of butter or oil on the bottom of the pan first. This helps the bread get a little toasted instead of sticking to the glass.
Here is a pro tip: spread a thin layer of cheese on the bread before you add the sauce. This acts like a shield. It stops the sauce from soaking into the bread and making it soggy. I learned this the hard way after making a batch that turned into mush. Nobody likes a soggy sandwich! A little bit of cheese goes a long way in keeping the bread firm and tasty.
Adding the Meat and Sauce

Once your bread is ready, place one meatball on each roll. If you have twelve rolls, you need twelve meatballs. Try to center them so they do not roll off. After the meatballs are lined up, spoon your favorite marinara sauce over each one. You do not need to drown them. Just a big spoonful on each meatball is enough. If you use too much sauce, it will spill out the sides and make a mess in the pan.
I usually use a jar of good marinara sauce from the store. If you want to be fancy, you can add a pinch of garlic powder or dried oregano to the sauce first. This gives it a home-cooked flavor even if it came from a jar. Make sure the sauce is at room temperature or warm. If the sauce is ice cold, the middle of the slider might stay cold while the bread burns in the oven. That is not a fun surprise to bite into!
The Garlic Butter Topping

This is the secret step that makes these sliders better than the rest. While the oven heats up, melt some butter in a small bowl. Stir in some garlic powder and dried parsley. Put the top sheet of bread over your meatballs and cheese. Then, use a brush to spread that garlic butter all over the tops of the rolls. Make sure you get the edges too. This makes the bread taste like garlic bread and helps it turn a beautiful brown color.
Don’t be shy with the butter! It adds so much flavor and moisture. If you skip this, the rolls might get too dry and crunchy in the oven. I like to sprinkle a little extra Parmesan cheese and some sesame seeds on top of the butter. It looks professional and tastes amazing. It only takes two minutes to do this, but it is the part everyone will talk about when they eat them. IMO, this is the best part of the whole recipe.
Baking to Perfection

Cover the pan with aluminum foil before you put it in the oven. This is important because it lets the meatballs get hot and the cheese melt without burning the bread. Bake them covered for about fifteen minutes. Then, take the foil off and bake for another five to ten minutes. This last bit of time is when the tops get golden and crispy. Keep a close eye on them during these last few minutes so they do not get too dark.
You will know they are done when the cheese is bubbling at the edges and the bread smells like a bakery. When you pull them out, let them sit for a few minutes. If you try to cut them right away, the cheese will run everywhere. Letting them rest for five minutes helps everything set. Then you can use a knife to cut through the rows and serve them up. They are hot, so be careful not to burn your tongue!
Cooking Success Tips
- Pan Size: Use a pan where the rolls fit tightly so they stay upright.
- Meatball Size: Choose meatballs about 1-inch thick for the best fit.
- Foil Trick: Always cover with foil first to melt cheese without burning bread.
Serving and Storing Your Sliders
Cooking the sliders is only half the fun. Now you get to eat them! These are great because they are easy to hold in one hand. This makes them perfect for parties where people are walking around. I usually serve them right out of the baking dish to keep them warm. They look great and smell even better. You can also move them to a big wooden board if you want a fancy look for your table.
What to Serve on the Side

Even though these sliders are filling, I like to have some sides. A simple green salad with Italian dressing is a great choice. The fresh lettuce cuts through the heavy cheese and meat. If you want something more fun, French fries or potato chips work well too. Sometimes I serve them with extra marinara sauce in a small bowl. People can dip their sliders if they really love sauce. It is a messy but tasty way to eat!
For a big party, I might make a tray of these and a tray of ham and cheese sliders. This gives people options. If you are serving kids, these are usually a huge hit. They are the perfect size for small hands. You do not need forks or spoons, which means less washing for you later! Just put out plenty of napkins because the sauce can be a bit drippy.
Storing Your Leftovers

If you have any sliders left, do not throw them away! They stay good in the fridge for about two days. Put them in an airtight container so the bread does not get hard. When you want to eat them again, use the oven or an air fryer. Putting them in the microwave is okay, but it can make the bread a little chewy. I found that five minutes in a toaster oven makes them taste almost as good as the first day.
This recipe does not freeze very well once it is cooked. The bread can get very soggy when it thaws out. If you want to make them ahead of time, it is better to prep the meatballs and sauce and then build the sliders right before you bake them. This keeps everything fresh. I have tried freezing a whole pan before, and it just wasn’t the same. Fresh is always best for these little sandwiches.
Common Mistakes to Avoid

One mistake people make is using meatballs that are too big. If the meatballs are huge, the top bun will just sit on top like a hat. It won’t touch the cheese or the other meatballs. This makes the slider hard to eat. Another mistake is forgetting the foil. If you don’t cover the pan, the sugar in the Hawaiian rolls will burn before the meatball gets hot. Nobody likes the taste of burnt sugar on their dinner.
Also, make sure you don’t use too much sauce on the bottom bun. I mentioned this before, but it bears repeating. Too much liquid is the enemy of a good slider. If you want more sauce, put it on top of the meatball or serve it on the side. This keeps the bottom of the sandwich sturdy and delicious. Following these small rules will make sure your meal is a total success every single time.
Your Slider Questions Answered
Can I use turkey meatballs?
Yes! Turkey meatballs work great. They are a bit leaner, so you might want to add a little extra sauce to keep them from tasting dry.
Do I have to use Hawaiian rolls?
No, you can use any small dinner rolls. Just make sure they are soft. Crusty rolls are harder to bite through and the meat might slip out.
How do I reheat these?
The best way is in the oven at 350 degrees for about 10 minutes. This keeps the bread from getting too soft or chewy.
Can I make these ahead of time?
You can build them a few hours early and keep them in the fridge. Just don’t add the sauce until you are ready to bake to prevent sogginess.
What if my meatballs are frozen?
Make sure to thaw them completely before building the sliders. If they are frozen, they won’t heat up all the way through in the oven.
Time to Eat Your Sliders
Meatball Parmesan Sliders are a simple, fun, and tasty meal that anyone can make. They combine the best parts of Italian food with the ease of a sandwich. I hope you enjoy making these for your friends and family soon. Happy cooking!