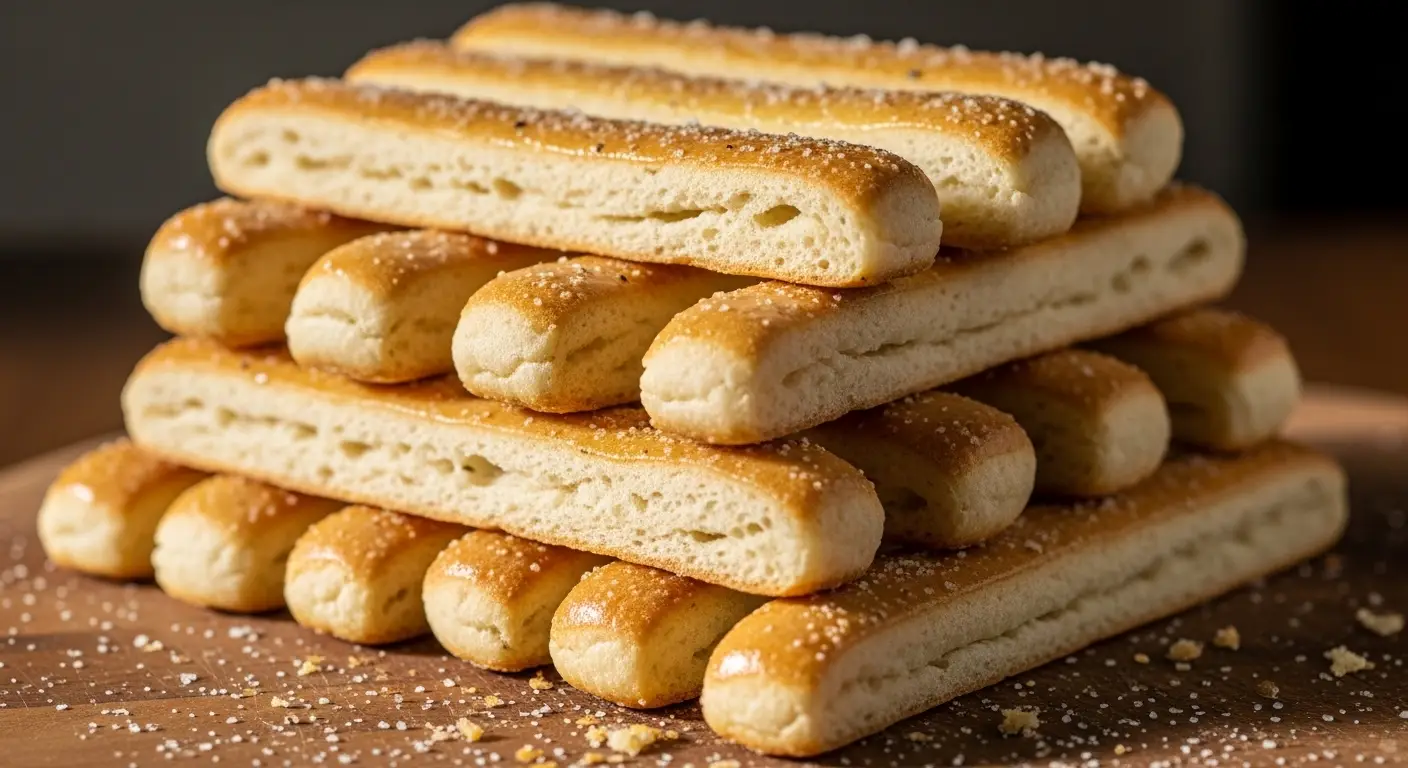
Olive Garden Breadsticks Copycat
I love going out to eat, but my favorite part isn’t the main meal. It is always the basket of warm, salty breadsticks. There is something so special about that garlic butter smell. It fills the air and makes you want to eat ten of them before your salad even arrives. I used to think I could only get that taste at the restaurant, but I was wrong. I spent a long time trying to make them in my own kitchen.
In this post, you will learn how to make these famous breadsticks from scratch. I will show you how to get that perfect soft texture and that famous yellow garlic topping. You do not need to be a pro baker to do this. If you can mix flour and water, you can make these. They are much cheaper than eating out, and you can have as many as you want without waiting for a server.
Get your apron ready because your house is about to smell amazing. Let’s get baking!
Recipe Quick Info
- Prep Time: 15 minutes
- Rise Time: 45 minutes
- Cook Time: 12 minutes
- Servings: 12 breadsticks
- Difficulty: Easy
The Secret to Soft Breadsticks
The biggest thing about these breadsticks is how soft they are. They are not crunchy like a baguette. They are light and airy inside. To get this right, you need the water to be just the right temperature. If it is too cold, the yeast won’t wake up. If it is too hot, the yeast will die. I use a thermometer to make sure my water is about 110 degrees. It should feel like warm bath water on your wrist.
I also learned that you should not add too much flour. When I first tried this, I kept adding flour because the dough felt sticky. That was a big mistake! My breadsticks came out hard like rocks. A little bit of stickiness is actually a good thing. It keeps the bread moist and soft while it bakes in the oven. Trust the recipe and don’t overdo the flour.
The Ingredients You Need

Most of these items are already in your pantry. Using simple ingredients is why this recipe works so well. You don’t need fancy bread flour; all-purpose flour works just fine. The sugar is important because it feeds the yeast and helps the bread get a nice golden color. Without it, the bread stays very pale and takes longer to rise.
- 1 cup warm water (about 110 degrees)
- 1 packet active dry yeast (2 and 1/4 teaspoons)
- 2 tablespoons granulated sugar
- 3 tablespoons melted butter (unsalted is best)
- 1 teaspoon salt
- 3 cups all-purpose flour
- Vegetable oil (for the bowl)
The Topping Ingredients

The topping is what makes these taste like the restaurant version. It is a mix of salty and garlicky goodness. Some people try to use fresh garlic, but I found that garlic salt actually tastes more like the real thing. It gives that specific punchy flavor we all love. Make sure your butter is fully melted so it soaks into the warm bread easily.
- 1/4 cup melted butter
- 1/2 teaspoon garlic salt (or more if you love salt!)
- 1/4 teaspoon dried parsley flakes
How to Make the Dough
Making dough can feel scary if you haven’t done it before. I remember the first time I tried making bread. I was so worried it wouldn’t rise! But yeast is like a little magic trick. Once you see those bubbles forming in the water, you know you are on the right track. It just takes a little patience and a warm spot in your kitchen.
I like to use a stand mixer with a dough hook because it saves my arms from getting tired. If you don’t have one, you can totally do this by hand. It just takes about ten minutes of pushing and folding the dough on a floured counter. Think of it as a little workout before you eat all those carbs! FYI, kneading by hand is actually very relaxing once you get into a rhythm.
Mixing and Kneading

- Pour the warm water, sugar, and yeast into your mixing bowl. Let it sit for 5 to 10 minutes until it looks foamy on top.
- Add the melted butter and salt to the yeast mixture.
- Slowly add the flour one cup at a time. Mix on low speed.
- Once the dough starts to pull away from the sides of the bowl, keep mixing for 5 minutes. This makes the dough stretchy.
- If the dough is sticking to the bowl like glue, add one tablespoon of flour at a time until it just barely sticks to your finger.
The First Rise

Now comes the waiting part. Lightly grease a large bowl with a little bit of oil. Place your dough ball inside and turn it over so the top is oily too. This stops a dry crust from forming on the dough. Cover the bowl with a clean towel and put it in a warm place. I usually put mine inside the oven with the light turned on (but the oven turned off!).
You want the dough to double in size. This usually takes about 45 minutes to an hour. If your house is cold, it might take a bit longer. Don’t rush this part! The rise is what creates those tiny air bubbles that make the breadsticks light. If you skip this, your breadsticks will be dense and heavy. IMO, the wait is the hardest part of the whole recipe.
Shaping the Breadsticks

Once the dough has grown, gently punch it down to let the air out. Turn it out onto a flat surface. You don’t need much flour here. Divide the dough into 12 equal pieces. I like to use a knife to cut it like a pizza so the pieces are mostly the same size. This helps them all cook at the same time so you don’t end up with some burnt ones and some raw ones.
Take one piece and roll it between your hands or on the table to make a rope. Aim for about 7 inches long. Try to make them the same thickness from end to end. Place them on a baking sheet lined with parchment paper. Leave about two inches between each one because they are going to grow again! Cover them back up and let them rest for another 15 minutes while you preheat your oven to 400 degrees.
Baking and Finishing Touches
Baking is the best part because the smell starts to take over your whole house. It makes everyone come into the kitchen to ask when dinner is ready. These breadsticks bake fast, so keep a close eye on them. They only need about 10 to 12 minutes. You want them to be just starting to turn light brown on the top. If they get too dark, they won’t be as soft as the restaurant version.
The magic happens the second they come out of the oven. You have to brush them with the garlic butter while they are screaming hot. This allows the butter to soak deep into the bread instead of just sitting on top. It also helps the garlic salt stick. If you wait until they are cool, the topping will just slide off and stay greasy.
Pro Baker Tip
- Steam Power: Place a small pan of water on the bottom rack of your oven while it preheats. The steam helps the bread rise even more and keeps the crust from getting too hard.
Brushing on the Flavor

Mix your topping ingredients in a small bowl while the bread is in the oven. As soon as you pull the tray out, start brushing! Be generous with the butter. I usually go over them twice. Once the butter is on, sprinkle a little extra garlic salt if you like them punchy. The dried parsley is mostly for looks, but it adds a nice touch of green that makes them look professional.
If you want to try something different, you can sprinkle some parmesan cheese on top right after the butter. It isn’t exactly like the original, but it tastes amazing. My kids love it when I add cheese. Just make sure the cheese is very finely grated so it sticks well to the warm butter.
How to Serve Them

These are best served immediately. I like to put them in a basket with a cloth napkin to keep the heat in. They go perfectly with a big bowl of pasta or a giant salad. Honestly, I have been known to just eat three of them as a snack by themselves. They are that good! If you have leftovers, you can wrap them in foil and pop them back in a warm oven for a few minutes the next day.
For a real restaurant experience, serve them with a side of warm marinara sauce or some creamy alfredo sauce. Dipping the salty bread into the sweet tomato sauce is the perfect bite. Just be careful, because once you start dipping, it is hard to stop! These are always a hit at parties or family dinners.
Nutrition Facts (Per Breadstick)
- Calories: 150
- Fat: 6g
- Carbs: 22g
- Protein: 3g
- Sodium: 280mg
Common Questions About This Recipe
Can I use bread flour instead of all-purpose?
Yes, you can. Bread flour has more protein. It will make the breadsticks a little bit chewier, but they will still taste great. You might need a tiny bit more water if the dough feels dry.
Why didn’t my dough rise?
Your yeast might be old or the water was too hot. Make sure the yeast is not expired. Always check that the water is warm, not hot, before adding the yeast and sugar.
How do I store the leftovers?
Keep them in an airtight bag at room temperature for up to 2 days. To make them soft again, wrap them in a damp paper towel and microwave for 10 seconds or use a toaster oven.
Can I freeze the dough?
Yes! You can freeze the shaped breadsticks before the second rise. When you want to bake them, let them thaw and rise on a tray for about 2 hours before putting them in the oven.
Can I make these vegan?
Yes. Just use a vegan butter substitute or a light oil for the dough and the topping. The rest of the ingredients are already vegan-friendly.
Master the Breadstick Basket
Making your own breadsticks is a great way to save money and impress your friends. You now know all the secrets to getting that soft texture and salty garlic crust. Once you try these fresh from your own oven, the restaurant version might not even taste as good anymore. Happy baking!