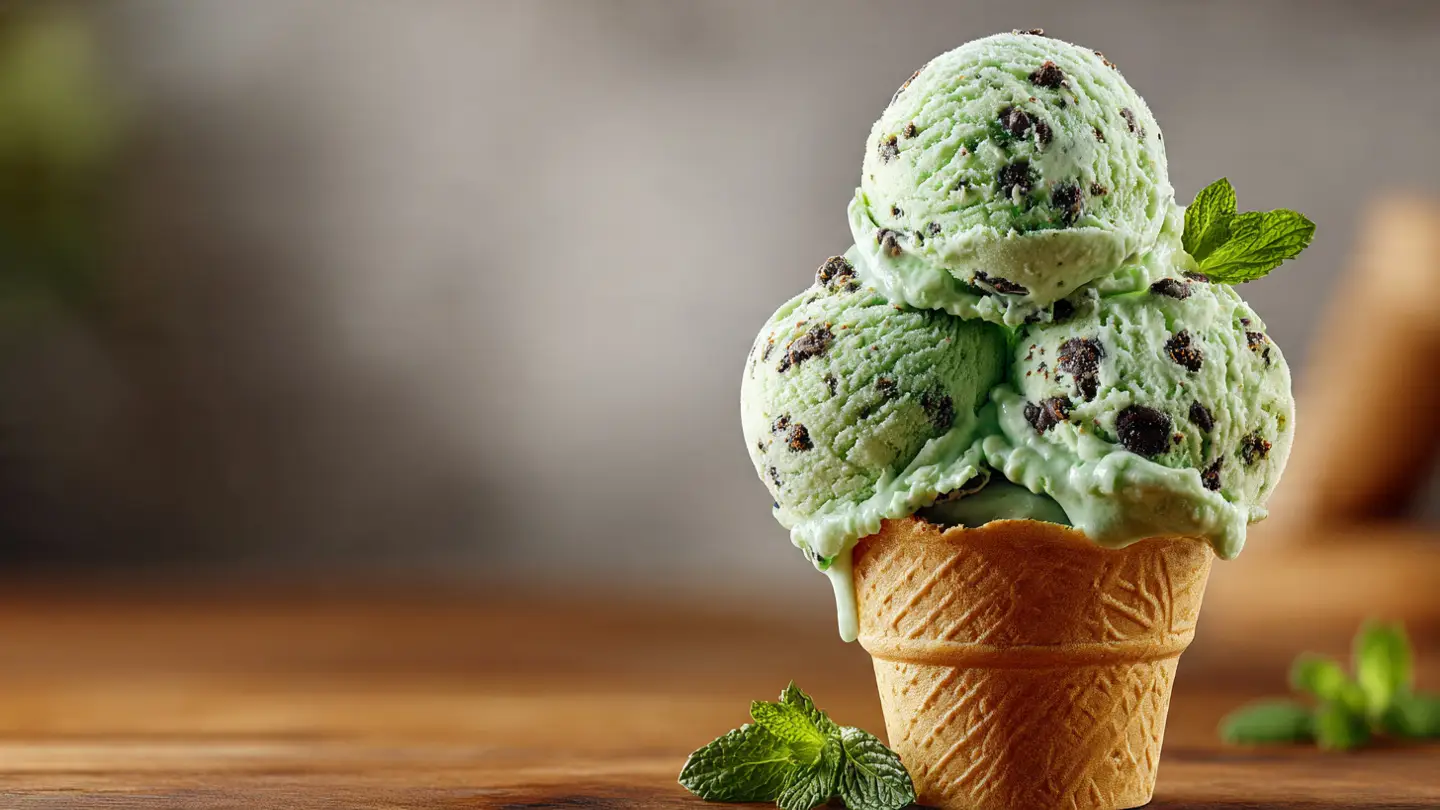
Refreshing Mint Chocolate Chip Ice Cream
I love ice cream more than almost any other food. There is something so special about a cold bowl of mint chocolate chip on a hot day. It feels like a tiny vacation in every bite. Many people buy it at the store because they think it is hard to make. I used to think that too until I tried it myself.
Today, I am going to show you how to make this treat in your own kitchen. You will learn what ingredients you need and how to mix them just right. We are going to make a batch that is smooth, green, and full of crunchy chocolate bits. It is much better than the kind from a box because you pick the best stuff to put inside.
Get your ice cream maker ready and let’s get started on this cool project! Have you ever wondered why homemade tastes so much better? You are about to find out.
Everything You Need to Get Started
Before we start mixing, we need to gather all our tools and food. Making ice cream is like a science project that you can eat later. You need a few big bowls, a whisk, and a stove. Most importantly, you need an ice cream machine. If you do not have one, it is harder to get that fluffy texture, but it is still possible.
I remember the first time I made this. I forgot to freeze the bowl of my ice cream maker. I ended up with mint soup instead of ice cream! It was a sad day, but I learned a big lesson. Always read the instructions for your machine before you start. Now, I keep my freezer bowl in the back of the freezer all year long just in case I want a snack.
The Ingredient List

To make this ice cream, you need simple things from the grocery store. You do not need fancy chemicals. You just need fresh items that taste good on their own. When you use good milk and cream, the ice cream tastes like a dream. Here is what you should put on your shopping list:
- 2 cups of heavy whipping cream
- 1 cup of whole milk
- 3/4 cup of white sugar
- 1 teaspoon of peppermint extract
- A tiny pinch of salt
- 5 drops of green food coloring (this is optional!)
- 1 cup of mini chocolate chips or chopped chocolate
- 1/2 teaspoon of vanilla extract
Using mini chocolate chips is my favorite way to do this. Big chips can get too hard when they are frozen. They hurt your teeth! Mini chips or tiny slivers of chocolate melt in your mouth faster. It makes the whole experience much nicer for kids and adults. IMO, the texture of the chocolate is just as important as the mint flavor itself.
Preparation Steps for Success

First, you need to make sure your ice cream maker bowl is frozen solid. Most bowls need to stay in the freezer for at least 24 hours. If you shake it and hear liquid sloshing around, it is not ready yet. This is a common mistake that ruins a lot of dessert plans. Be patient and wait until it is as cold as ice.
Next, find a large mixing bowl. Pour in your milk and sugar. Use your whisk to stir them together. You want to stir until you cannot see the sugar crystals anymore. This might take a few minutes of hard work. Think of it as a little exercise before you eat your dessert! Once the sugar is gone, you can add the rest of the wet ingredients.
Recipe Quick Info
- Prep Time: 15 minutes
- Chilling Time: 2 hours
- Churn Time: 25 minutes
- Difficulty: Easy
The Fun Part of Mixing and Churning
Now that the base is ready, we get to the part that looks like magic. This is where the liquid turns into a thick and creamy treat. You have to be careful with the flavors here. Mint is very strong. If you put too much, it might taste like you are eating toothpaste! I usually start with a little bit and smell the mix to see if it is right.
I once used a whole tablespoon of mint by mistake. It was way too much. My mouth felt like it was freezing from the inside out! Now I use a measuring spoon every single time. It is better to be safe than sorry when you are working with strong extracts. This part of the process is where you can really make the recipe your own.
Adding the Cool Mint Flavor

Slowly pour the heavy cream, peppermint extract, and vanilla into your milk mixture. Stir it gently so it does not splash. If you want your ice cream to look like the kind from the shop, add the green food coloring now. Start with just two drops. Stir it and see if you like the color. You can always add more, but you cannot take it out!
I think the light green color makes the ice cream look very refreshing. Some people like to leave it white. That is okay too! It will still taste exactly the same. The vanilla extract helps balance the sharp mint. It makes the flavor feel warm and cozy while the mint keeps it bright and cool. This balance is the secret to a great scoop.
How to Churn the Ice Cream

Turn on your ice cream machine first. Most machines want you to have the motor running before you pour the liquid in. This stops the mix from freezing to the sides instantly. Pour your green mixture into the moving bowl. Now comes the hard part: waiting! It usually takes about 20 to 30 minutes for the machine to do its job.
Watch the liquid as it spins. It will start to get thicker and thicker. It will look like soft-serve ice cream you get at a fair. This happens because the machine is folding air into the cream. Without the air, your ice cream would be a hard block of milk ice. The air makes it light and fluffy on your tongue. Keep an eye on it so it does not overflow!
Pro Churning Tips
- Don’t Overfill: Only fill the bowl 3/4 full because the ice cream grows as it gets airy.
- Cold Base: Make sure your liquid is cold before pouring it in. Put it in the fridge for an hour if you need to.
- Chocolate Timing: Wait until the very end to add the chips so they stay spread out.
Folding in the Chocolate Chips

When the ice cream looks thick and almost finished, it is time for the chocolate. This is my favorite part. Pour your chips into the machine while it is still running. Let the machine spin for one more minute to move the chips around. If you add them too early, they will all sink to the bottom. Adding them at the end keeps them everywhere.
If your machine is struggling to turn with the chips inside, just stop it. You can use a big spoon to fold them in by hand. This works just as well and protects your machine’s motor. FYI, if you like a lot of chocolate, feel free to add more than the recipe says. There is no such thing as too much chocolate in my house! Just make sure the pieces are small.
Finishing Touches and Serving
You might want to eat the ice cream right out of the machine. It is very soft at this stage. Most people like it a bit firmer. To get that perfect scoop shape, you need to let it sit in the freezer for a few hours. This is called ripening. It lets the flavors meld together and gives the ice cream a better structure so it doesn’t melt the second it hits the bowl.
I usually put mine in a metal loaf pan. Metal gets cold very fast and stays cold. I cover the top with plastic wrap to keep the air out. If air gets to the ice cream, it can get ice crystals on top. Nobody likes crunchy ice in their smooth cream! Give it about four hours to get firm enough for a cone.
Storage and Keeping it Fresh

Ice cream can pick up smells from the freezer. You do not want your mint treat to taste like frozen onions or old peas! Always use a container with a very tight lid. If you use a loaf pan like I do, press the plastic wrap right against the surface of the ice cream. This keeps the air away from the food and prevents freezer burn.
Homemade ice cream does not have preservatives. This means it is best if you eat it within two weeks. After that, it might start to get a bit grainy. But honestly, in my home, it never lasts more than two days! Everyone loves it so much that the container is empty before I know it. It is a great feeling to see people enjoy something you made from scratch.
The Best Ways to Serve

When you are ready to eat, take the container out of the freezer for five minutes. This lets it soften just a tiny bit so you can get a perfect round scoop. Use a heavy metal ice cream scoop. If you dip the scoop in warm water first, it will slide through the ice cream like butter. This is a trick I learned from a friend who worked at a candy shop.
You can serve this in a bowl, a waffle cone, or even between two chocolate cookies. Sometimes I drizzle a little chocolate sauce on top for extra sweetness. A fresh leaf of mint on the side makes it look like it came from a fancy restaurant. It is the perfect end to a summer dinner or a fun treat for a birthday party. Everyone will be impressed that you made it yourself!
Fun Variations to Try

Once you know the basic recipe, you can change it up. Some people like to use crushed chocolate sandwich cookies instead of chocolate chips. This is called grasshopper ice cream. It is very delicious! You can also try using white chocolate chips for a creamier and sweeter taste. The peppermint stays the same, but the bits inside change the whole vibe.
If you want a deeper flavor, try using fresh mint leaves instead of extract. You have to cook the leaves in the milk and then strain them out. It takes more time, but the flavor is very earthy and real. This version might not be as bright green, but it is very special. I usually stick to the extract because it is faster and my kids prefer the bright color. It is all about what makes you happy.
Common Questions About Homemade Ice Cream
Can I make this without an ice cream maker?
Yes! Pour the mix into a pan and stir it every 30 minutes while it freezes. It takes longer but still tastes great.
Why is my ice cream too hard to scoop?
Homemade ice cream has no softeners. Let it sit on the counter for 5-10 minutes before scooping to fix this.
Can I use low-fat milk instead of whole milk?
You can, but it will be less creamy. Whole milk and heavy cream give the best texture and flavor.
How do I stop ice crystals from forming?
Press plastic wrap directly onto the surface of the ice cream before freezing to keep air out.
Time to Enjoy Your Cool Treat
Making your own mint chocolate chip ice cream is a rewarding way to spend an afternoon. You now have a recipe that is fresh, tasty, and full of love. Go grab a spoon and enjoy the best dessert you have ever made in your own kitchen!