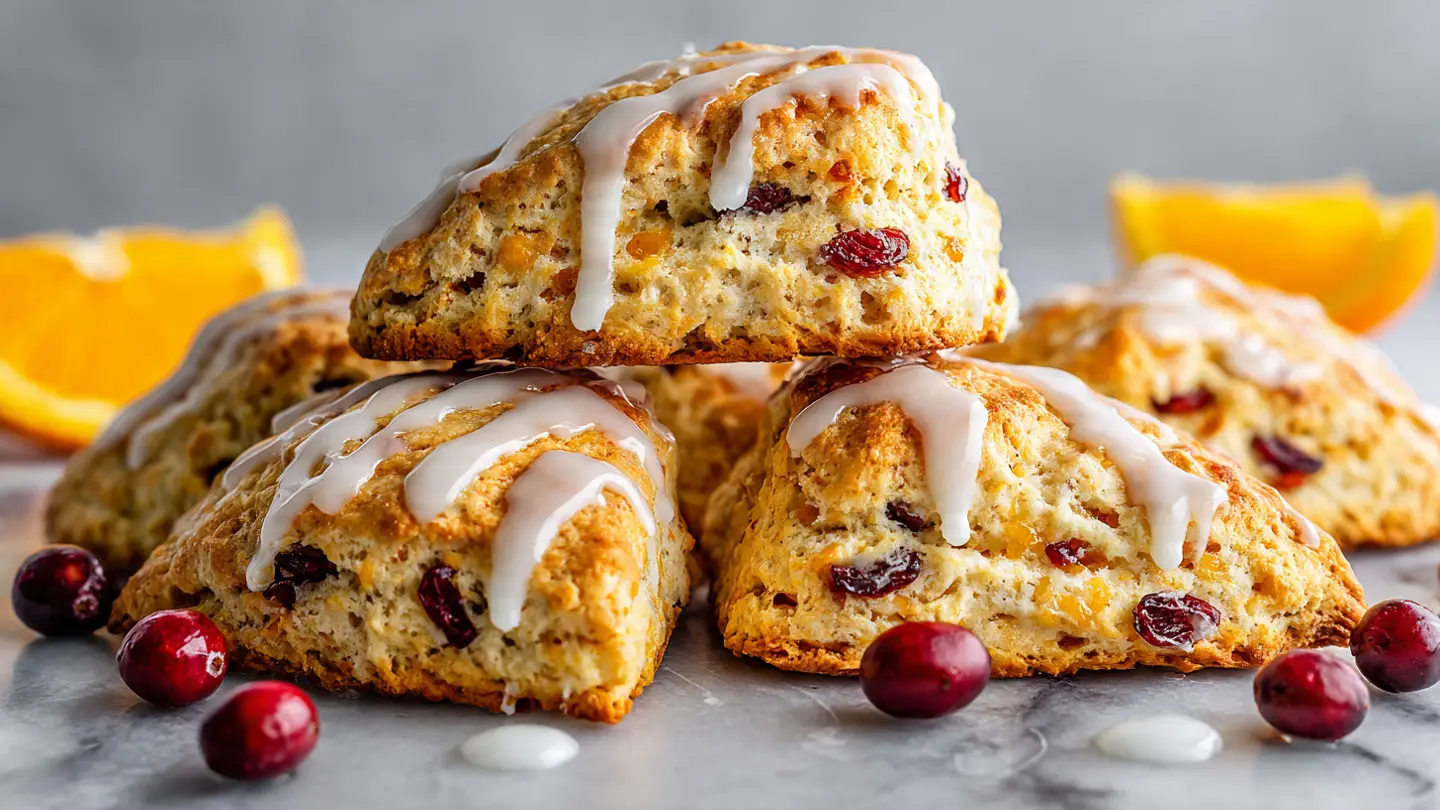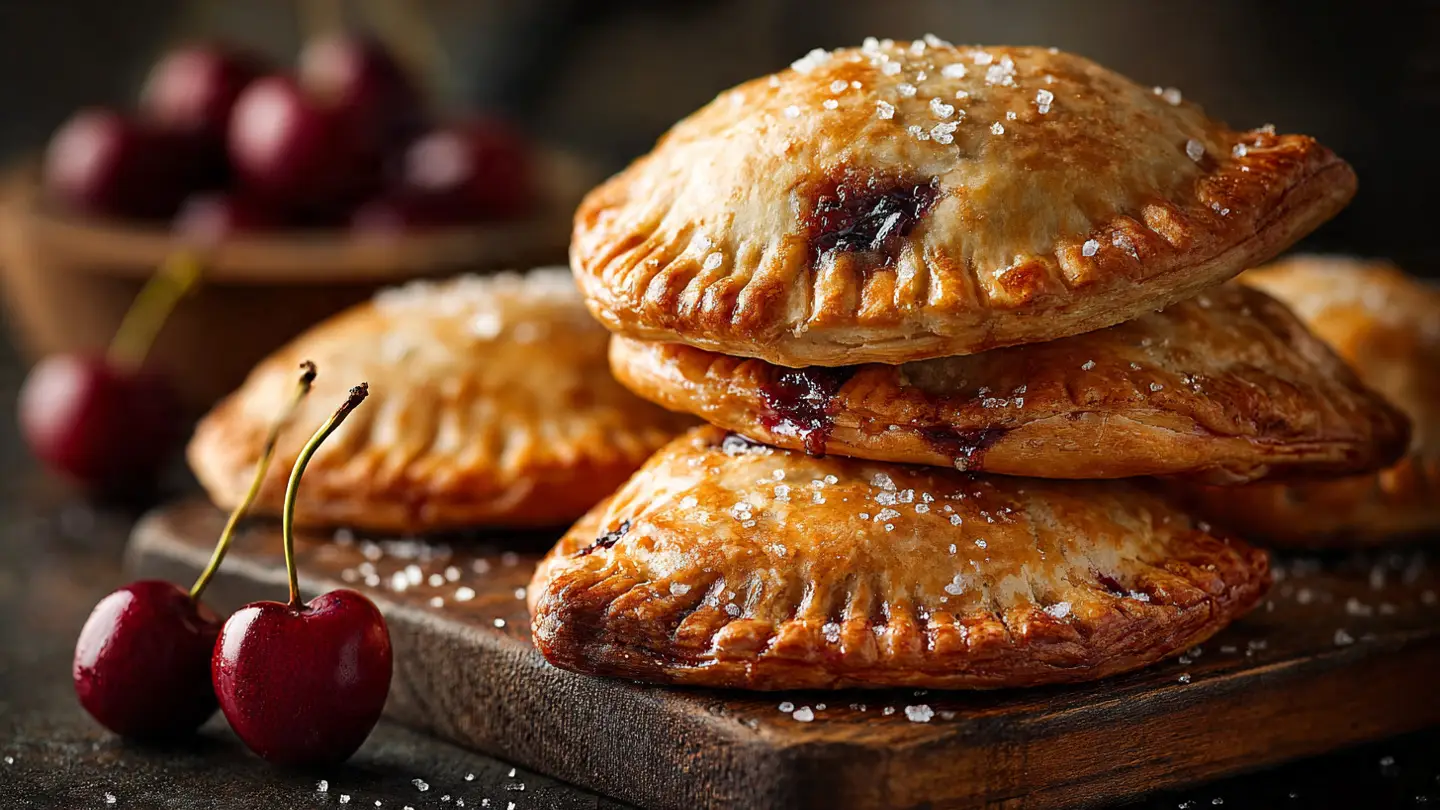
Sweet Cherry Hand Pies for Easy Snacking
Making sweet cherry hand pies is a fun way to enjoy fruit and pastry. I love these because you do not need a fork or a plate to eat them. They are like small, portable pockets of joy that fit right in your hand. In this guide, you will learn how to make a simple crust and a juicy cherry filling from scratch. These are much better than the ones you buy at the store because you know exactly what is inside them.
I remember the first time I tried to make these. I put way too much juice inside and the pies leaked all over my oven. It was a sticky mess! But I learned a big lesson about how to thicken the fruit. Now, my pies stay sealed and crispy every single time. Whether you want a snack for a hike or a treat for a party, these little pies are the perfect choice. You can even freeze them for later which is a big help on busy days.
Check out the steps below to start baking your own batch of fruit pies today!
Recipe Quick Info
- Prep Time: 40 minutes
- Cook Time: 20 minutes
- Servings: 8 hand pies
- Difficulty: Easy to Medium
Gathering Your Baking Supplies
Before you start mixing, you need to get all your tools and food items ready. Having everything on the counter makes the work go faster and keeps you from getting stressed. You will need basic kitchen tools like a rolling pin and a baking sheet. If you do not have a rolling pin, a clean glass bottle works just as well. I have used a water bottle many times when I was on vacation and it worked great.
The Simple Ingredients List

You do not need anything fancy to make these pies. Most of these items are probably in your kitchen right now. For the crust, you need all-purpose flour, cold butter, a little sugar, and salt. The butter must be very cold. This is the secret to a flaky crust. If the butter melts too soon, the crust will be hard and tough like a cracker instead of light and airy. I usually put my butter in the freezer for ten minutes before I start.
- 2 cups of all-purpose flour
- 1 cup of cold unsalted butter (cut into small cubes)
- 1 tablespoon of white sugar
- 1/2 teaspoon of salt
- 6 tablespoons of ice-cold water
- 2 cups of fresh or frozen cherries (pitted and chopped)
- 1/4 cup of sugar for the filling
- 1 tablespoon of cornstarch
- 1 egg (for the egg wash)
If you cannot find fresh cherries, frozen ones are fine. Just make sure to thaw them and pat them dry with a paper towel first. If they are too wet, the bottom of your pie will get soggy. Nobody likes a soggy pie! FYI, you can also use canned cherry filling if you are in a big hurry, but fresh fruit tastes a lot more bright and real.
Essential Tools for Success

You will need a large bowl to mix the dough. A pastry cutter is helpful for mixing the butter into the flour, but you can use two forks or even your fingers. Just be fast so your hands do not warm up the butter. You also need a round cutter to shape the pies. I use a large glass or a biscuit cutter that is about four inches wide. If the circles are too small, it is hard to fit the fruit inside.
A baking sheet lined with parchment paper is a must. This keeps the pies from sticking and makes cleanup very easy. I hate scrubbing burnt sugar off a pan, so the paper is a lifesaver. You will also need a fork to crimp the edges of the dough. This creates a pretty pattern and locks the juices inside so they do not spill out while baking.
How to Make the Perfect Hand Pie
Making the dough and the filling are the two main parts of this recipe. The dough needs to rest in the fridge so it can relax. This makes it easier to roll out. The filling needs to be thick so it does not run. I will show you how to do both of these things so your pies look like they came from a professional bakery. Take your time and enjoy the process of working with the dough.
Mixing the Flaky Crust

Start by mixing the flour, sugar, and salt in your big bowl. Drop in the cold butter cubes. Use your tool to mash the butter into the flour. You want it to look like small crumbs or peas. Do not over-mix it! If the butter disappears completely, you lose the flakes. Slow and steady wins here. Once it looks crumbly, add the ice water one tablespoon at a time. Stir it gently until the dough just starts to come together into a ball.
Wrap the dough in plastic and put it in the fridge for at least thirty minutes. This is a very important step. If you skip the chilling time, the dough will be sticky and hard to roll. It might even shrink in the oven. While the dough is resting, you can move on to making the delicious cherry center. This is a great time to clean up any flour spills on your counter so you have a clean workspace later.
Preparing the Cherry Filling

Chop your cherries into small pieces. If they are whole, they will be too big for the small pies. Put the cherries, sugar, and cornstarch into a small pot. Cook them over medium heat for about five to eight minutes. The cornstarch is the hero here because it turns the cherry juice into a thick syrup. You will see the mixture change from cloudy to clear and shiny. That is how you know it is ready.
Let the filling cool down completely before you put it on the dough. If the filling is hot, it will melt the butter in your crust instantly. This is a mistake I made once, and the pies fell apart before they even hit the oven. I usually put the filling in a bowl and stick it in the fridge for a bit to speed things up. It should be thick enough to stay on a spoon without dripping off too fast.
Assembling the Hand Pies

Roll your chilled dough out on a floured surface. You want it to be about one-eighth of an inch thick. Cut out as many circles as you can. Place a small spoonful of the cold cherry filling in the middle of each circle. Do not put too much! It is tempting to pile it high, but less is more when it comes to hand pies. If you overfill them, the dough will stretch and tear, and you will have a mess on your hands.
Fold the dough over the fruit to make a half-moon shape. Use your fingers to press the edges together. Then, take your fork and press the tines into the edge all the way around. This creates a strong seal. I like to poke a tiny hole or cut a small slit in the top of each pie. This lets the steam escape so the pie does not explode. It also looks very cute and professional.
Baking to Golden Perfection

Brush the tops of your pies with a beaten egg. This egg wash is what gives the pies that beautiful golden glow and a nice shine. You can also sprinkle a little extra sugar on top for a crunchy texture. Bake them at 400 degrees for about 15 to 20 minutes. You want the edges to be dark golden brown. If they look pale, they might be doughy on the inside, so give them another minute or two.
Let the pies cool on the baking sheet for at least ten minutes. The filling inside is like hot lava right after baking, so please be careful! Waiting is the hardest part, but it lets the crust set up so it does not break when you pick it up. Once they are cool enough to touch, you can move them to a wire rack. These pies are best when they are still slightly warm, but they stay delicious for days.
Pro Baking Tips
- Keep it Cold: If the dough gets too soft while you are working, put it back in the fridge for ten minutes.
- Don’t Overstuff: Use only one tablespoon of filling to prevent leaking.
- Seal Tight: Dip your fork in flour so it doesn’t stick to the dough while you are crimping the edges.
Serving and Storing Your Treats
Hand pies are great because they are so easy to serve. You do not need to cut slices or worry about keeping things neat. They are made for busy people and kids who want a quick snack. You can eat them just as they are, or you can make them a bit fancier for a real dessert. I love how versatile these little pockets are for different occasions throughout the week.
Fun Ways to Serve

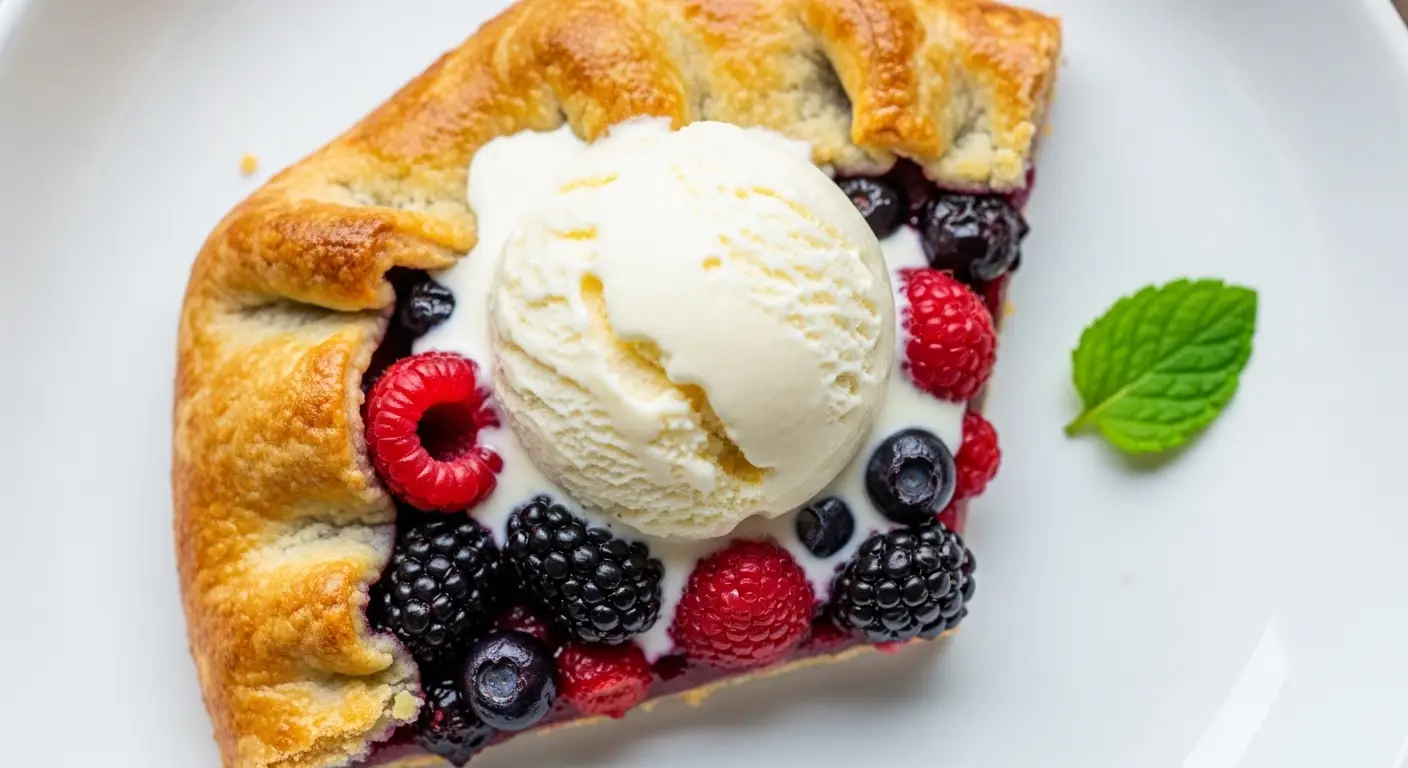
These are perfect for school lunches or afternoon snacks. You can just wrap one in a napkin and go. If you want to serve them for dessert after dinner, try adding a scoop of vanilla ice cream on the side. The cold ice cream and the warm cherry filling are a match made in heaven. You could also drizzle a little bit of glaze made from powdered sugar and milk over the top once they are cool.
For a party, you can make mini versions using a smaller cutter. These “two-bite” pies are always the first thing to disappear at my house. They are easy for guests to grab while they are talking. IMO, the best way to enjoy them is with a cold glass of milk or a hot cup of tea. The tartness of the cherries cuts through the buttery crust perfectly, making every bite feel balanced and not too sweet.
How to Store and Reheat

If you have leftovers, you can keep them in an airtight container at room temperature for two days. If you want them to last longer, put them in the fridge for up to five days. To get that crispy crust back, do not use the microwave. The microwave makes the dough soft and chewy. Instead, put them in a toaster oven or a regular oven at 350 degrees for five minutes. This makes them taste like they were just baked.
You can also freeze these pies! You can freeze them before you bake them or after. If you freeze them raw, just add a few extra minutes to the baking time when you are ready to eat. This is a great trick for having a fresh snack ready whenever you have a craving. Just make sure to wrap them tightly in plastic wrap so they do not get freezer burn. This recipe is very forgiving and works well for meal prepping.
Better Baking Questions
Can I use other fruits for the filling?
Yes! You can use blueberries, apples, or peaches. Just make sure to chop larger fruits into small bits and use cornstarch to thicken the juices.
What if I do not have a round cutter?
You can use a wide-mouth glass or even cut the dough into squares with a knife. Square hand pies taste just as good as round ones!
Why did my pies leak in the oven?
This usually happens if the edges were not sealed well or if there was too much filling. Make sure to crimp the edges tightly with a fork.
Can I use store-bought pie crust?
You sure can! It saves a lot of time. Just roll it out a little bit thinner before cutting your circles to get the best texture.
Do I have to use an egg wash?
The egg wash makes them shiny and brown, but you can use milk instead. Milk will give a matte look but still helps the crust go golden.
Happy Snacking with Hand Pies
Sweet cherry hand pies are a treat that anyone can master with a little practice. They are portable, delicious, and much healthier than store-bought snacks. Try this recipe today and see how easy it is to bring a smile to your family. Enjoy your baking!