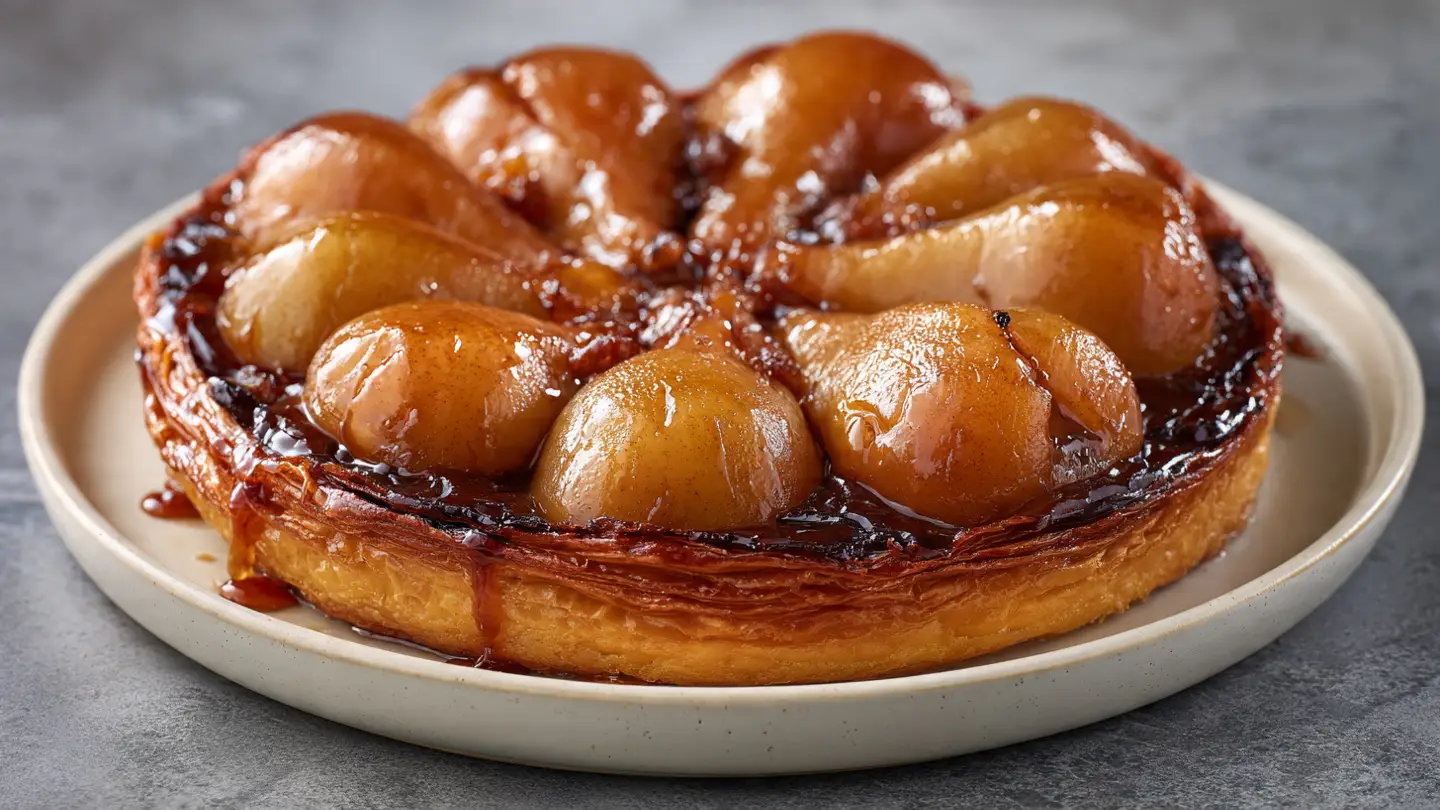
Classic Pear Tarte Tatin: An Upside-Down Treat
Making a fancy French dessert might sound scary. I used to think the same thing until I tried making a Tarte Tatin. It is basically an upside-down tart that looks like a million bucks but only needs a few simple things. You cook fruit in sugar and butter, put dough on top, and bake it. Then comes the best part: flipping it over to see the shiny, golden fruit on top.
In this post, I will show you how to make a Pear Tarte Tatin from scratch. Pears are great because they get very soft and sweet when you cook them in caramel. We will talk about which pears to buy, how to make the caramel without burning it, and how to get that perfect crust. You do not need to be a pro chef to do this well.
Let’s get your apron on and start baking this sweet treat!
Recipe Quick Info
- Prep Time: 25 minutes
- Cook Time: 45 minutes
- Servings: 8 people
- Difficulty: Medium
Getting Ready for Your French Baking Adventure
Before we touch any food, we need to talk about the tools. A Tarte Tatin is special because it starts on the stove and ends in the oven. This means you need a pan that can handle both. I always use a heavy cast iron skillet. It holds heat really well and keeps the sugar from burning too fast. If you do not have one, any oven-safe pan will work. Just make sure it does not have a plastic handle that might melt!
The first time I made this, I used a pan with a thin bottom. The sugar burned in the middle while the edges were still white. It was a sticky mess! I learned that a thick pan is your best friend here. Also, make sure your pears are not too ripe. If they are very soft, they will turn into mush. You want pears that feel firm when you squeeze them gently. This helps them keep their shape after they bake in the hot sugar.
Gathering Your Sweet Ingredients

You only need a few items to make this magic happen. Most of these things are likely in your kitchen right now. Simple ingredients often make the best food. Here is what you should grab from the store:
- 6 to 8 large pears (Bosc or Anjou work best)
- 1/2 cup of unsalted butter (one stick)
- 1 cup of white granulated sugar
- 1 sheet of puff pastry (thaw it first if it is frozen)
- A pinch of salt
- 1 teaspoon of vanilla extract
- A little flour for your counter
Using high-quality butter makes a big difference in the taste. Since there are so few ingredients, you can really taste each one. I like to use puff pastry from the freezer section because it saves a lot of time. It has many layers that get very flaky and crispy. If you are feeling brave, you could make your own dough, but the store-bought kind is honestly just as good for this recipe.
Preparing the Pears for the Pan

Peeling pears is the first step. Use a vegetable peeler to take off all the skin. Once they are naked, cut them in half from top to bottom. You need to remove the seeds and the hard core in the middle. I use a small metal spoon or a melon baller to scoop the middle out. It makes a nice round hole and looks very clean. Trim the stems off too so everything is smooth.
Don’t worry if the pears start to turn a little brown. The caramel will cover them up anyway! I like to keep my pear halves large because they look pretty in the pan. If your pears are huge, you can cut them into quarters. The goal is to have enough fruit to pack the pan tightly. As they cook, they will shrink a little bit. If you leave too much space, the tart might fall apart when you flip it later.
Making the Golden Caramel Base

This is the part that makes people nervous, but it is actually fun. Put your skillet on medium heat. Melt the butter until it is bubbly. Then, pour the sugar evenly over the melted butter. Do not stir it too much! Just let it sit and melt. You will see it turn from white to a light tan color. This is the sugar turning into caramel. It smells like a candy shop once it starts to brown.
Keep a close eye on the pan. Caramel goes from perfect to burnt very fast. Once it looks like the color of an old penny, add the pinch of salt and vanilla. Be careful because it might bubble up high for a second. This caramel is very hot, so do not try to taste it with your finger! IMO, a darker caramel has more flavor, but a lighter one is safer if you are worried about burning it. The pears will add juice later which stops the sugar from getting too hard.
Arranging the Fruit in the Skillet

Now we put the pears into the hot sugar. This part is like a puzzle. Carefully place the pear halves into the pan. I usually put the round bottoms toward the outside edge and the pointy tops toward the center. Pack them in as tight as you can. You might have to squeeze the last few pieces in. It is okay if they overlap a little bit because they will settle down as they soften.
Let the pears cook in the caramel on the stove for about 10 minutes. You want them to start getting soft before they go into the oven. Sometimes I use a fork to gently poke them to see if they are giving in. The juice from the fruit will mix with the sugar and butter to make a thick syrup. This syrup is what coats the fruit and makes it shine. If the liquid looks too thin, just let it bubble for a few more minutes until it thickens up like honey.
Covering the Tart with Pastry

While the pears are simmering, roll out your puff pastry. It should be slightly bigger than your pan. Cut it into a circle that is about an inch wider than the skillet. Once the pears are ready, take the pan off the heat. Lay the dough carefully over the top of the hot fruit. It will start to soften right away from the steam. Use a wooden spoon to tuck the edges of the dough down into the sides of the pan.
Think of it like tucking in a blanket. You want the dough to hold the fruit in place. Before you put it in the oven, take a knife and poke a few small holes in the top. This lets the steam escape so the pastry stays crispy instead of getting soggy. If the steam gets trapped, the dough might puff up too much and push out of the pan. FYI, if the dough feels too warm and sticky, you can put the whole pan in the fridge for ten minutes before baking. This helps the layers stay flaky.
Baking to Golden Perfection

Slide the pan into an oven set at 400°F. It usually takes about 25 to 30 minutes. You are looking for the pastry to turn a deep golden brown. It should look puffed and dry. If the dough looks pale, leave it in for five more minutes. You want that crunch! The caramel underneath will continue to bubble and soak into the fruit while the top gets crispy.
When you take it out, the house will smell amazing. But do not try to flip it yet! The caramel is like liquid lava right now. If you flip it too soon, the hot syrup will run everywhere and might burn you. Let the pan sit on the counter for about 5 to 10 minutes. This gives the caramel time to thicken slightly so it stays on the pears when you turn it over. This is the hardest part because you will want to eat it right away!
Mastering the Flip and Serving
The flip is the most exciting part of making a Tarte Tatin. It is also the part that makes everyone hold their breath. You have worked hard to get the pears soft and the crust crispy. Now you have to trust the process. I always make sure I have a plate that is bigger than my pan. If the plate is too small, the caramel will drip over the edges and make a mess on your table. It is helpful to wear oven mitts during this part because the pan is still very hot.
I remember my first flip went a little wrong because I was too slow. I tipped the pan, hesitated, and half the pears stayed stuck to the bottom. I learned that you have to be fast and bold! If a pear does stay stuck, don’t panic. Just pick it up with a spoon and tuck it back into its spot on the tart. No one will ever know once you pour the extra syrup over the top. It is a very forgiving dessert.
The Secret to a Perfect Flip

Place your large plate upside down over the skillet. Hold the handle of the pan with one hand (use a towel or mitt!) and put your other hand firmly on top of the plate. In one quick motion, flip the whole thing over. You should hear a soft “clunk” or a “squish” sound as the tart lands on the plate. Gently lift the pan straight up. If everything went right, you will see a beautiful circle of shiny, caramel-covered pears sitting on a flaky crust.
If some pears are wonky, just nudge them back with a fork. Pour any extra caramel left in the pan over the fruit. This makes it look like it came from a fancy bakery. The caramel should be dark and glossy. This tart is best served warm, but it is also good at room temperature. The crust will stay crunchy for a few hours, but it might get soft if you leave it until the next day. That is why it is usually eaten all at once!
Pro Baker Tips
- Keep it Cold: Keep your puff pastry in the fridge until the very last second. Cold dough makes better flakes.
- Dry the Fruit: If your pears are very juicy, pat them dry with a paper towel before putting them in the caramel.
- Use a Shield: If the crust is getting dark too fast in the oven, cover the top loosely with foil.
What to Serve with Your Tart

While this tart is great on its own, a little something extra makes it even better. The most classic choice is a scoop of vanilla ice cream. The cold ice cream melts into the warm caramel and creates a creamy sauce. It is a perfect match. If you want something less sweet, you can use a dollop of crème fraîche or plain Greek yogurt. The sour taste cuts through the sugar really nicely.
Some people like to sprinkle a little cinnamon on top before serving. I also like to add some toasted walnuts or pecans for a bit of crunch. If you are serving this for a party, a little bit of fresh mint on the plate makes it look very professional. No matter what you choose, make sure to serve it while the fruit is still slightly warm. That is when the flavors are the strongest and the texture is the best.
Storing and Reheating Your Leftovers

If you actually have leftovers, you need to store them the right way. Put the tart in an airtight container and keep it in the fridge. It will stay good for about two or three days. Just know that the puff pastry will lose its crunch as it sits in the fridge. The sugar in the caramel will pull moisture from the air and make the dough a bit soft. It will still taste good, but it won’t be as crispy as it was on day one.
To reheat it, do not use the microwave! The microwave will turn the pastry into a soggy sponge. Instead, put the slice in a toaster oven or a regular oven at 350°F for about five minutes. This will help crisp up the bottom again and warm the pears through. If you are in a rush, a skillet on low heat also works well to warm the bottom. Just be careful not to burn the caramel again! It is a bit of extra work, but it makes the leftovers taste fresh again.
Common Questions About Tarte Tatin
Can I use apples instead of pears?
Yes! Apples are the original way to make this. Use firm ones like Granny Smith so they do not fall apart while cooking.
What if I don’t have a cast iron skillet?
Use any heavy pan that can go in the oven. Just check that the handle is metal and not plastic or wood.
My caramel turned hard, what happened?
It likely cooked too long or at too high a heat. Try adding a tiny splash of water or lemon juice next time to slow it down.
Can I make this ahead of time?
You can prep the pears and dough early, but it is best to bake and flip it right before you want to eat it.
Is puff pastry better than pie crust?
Puff pastry is more traditional and gives a light, airy crunch. Pie crust is sturdier but less flaky. Both work well!
Enjoy Your Homemade Masterpiece
You did it! You made a beautiful Pear Tarte Tatin. This dessert is all about simple ingredients and a little bit of courage during the flip. Whether you eat it with ice cream or all by itself, you should be proud of your baking. It is a warm, sweet, and comforting treat that feels like a hug on a plate. Enjoy every bite!