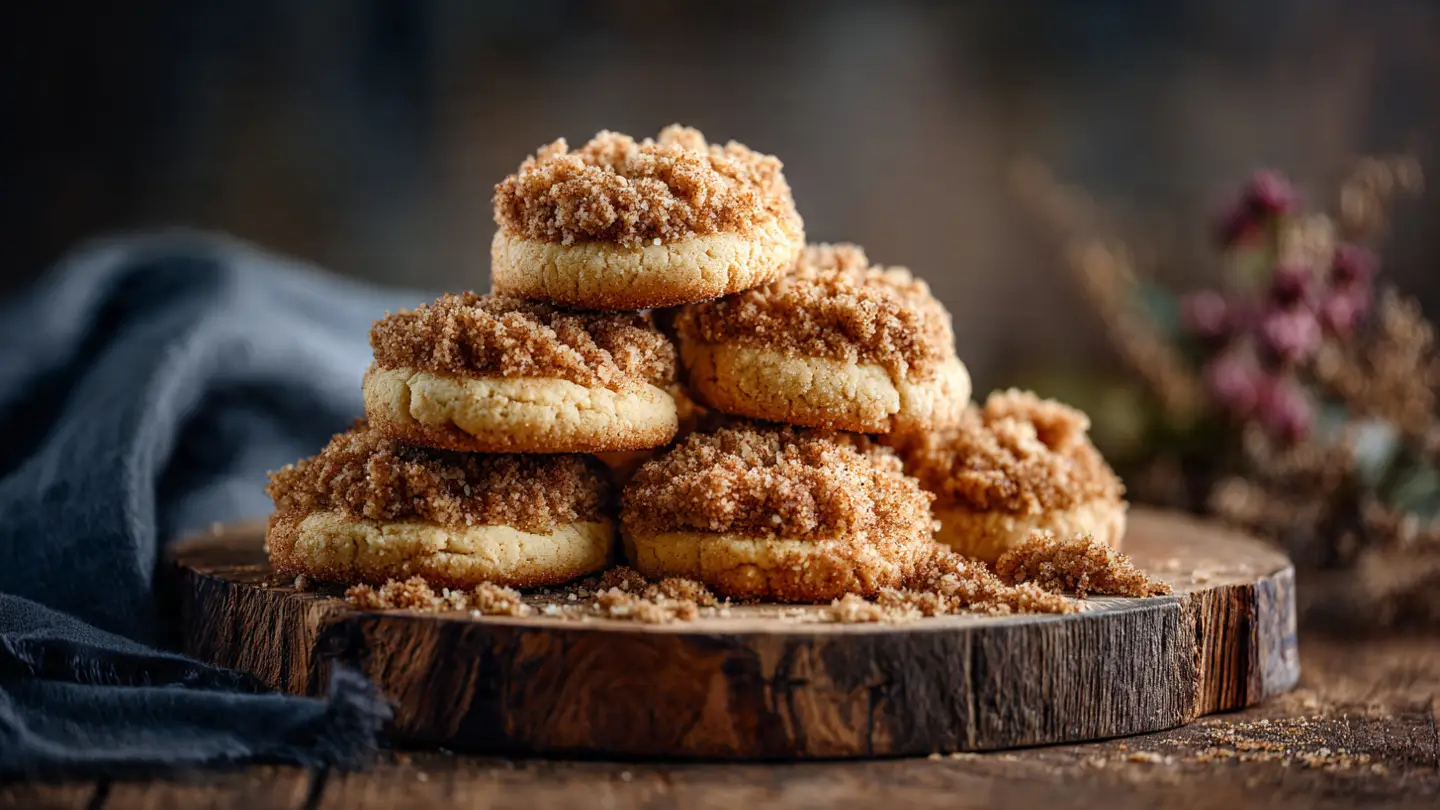
Elegant Creme Brulee with a Burnt Sugar Top
Creme brulee is a very famous dessert that looks hard to make. It has a cold, smooth custard on the bottom and a hot, crunchy sugar layer on top. People love it because you get to crack the sugar with a spoon. It feels like a magic trick when you eat it. You will learn how to make this treat in your own kitchen today.
Making this dish is mostly about being patient. You do not need to be a professional chef to get it right. I will show you how to mix the cream and eggs so they turn out perfect. We will also talk about how to get that glass-like sugar crust without burning the whole thing. You will be surprised at how few things you need to buy to start.
Check out my steps below to see how it is done. This will be the best dessert you ever make for your friends.
The Simple Things You Need for Success
Before you start cooking, you need to gather your tools and food. Many people think you need a big kitchen for this. That is not true. I make this in my small kitchen all the time. You just need a few basic items from the store. Most of these things are already in your house. The main parts are cream, eggs, sugar, and vanilla. It sounds easy because it really is.
One thing to remember is the quality of what you buy. Since there are only a few items, they should be good. Use real heavy cream and fresh eggs. Do not use milk because the custard will be too thin. You want it to be thick and rich like a cloud. Let’s look at the list of things to put on your counter.
The Short Grocery List

You only need five things to make the base of this dessert. First, get two cups of heavy cream. This is the most important part because it makes the dessert creamy. Next, you need five large egg yolks. You do not need the white parts of the eggs for this recipe. You can save the whites for breakfast tomorrow! Then, grab half a cup of white sugar. This goes into the custard to make it sweet.
You also need a little bit of vanilla. I like using a vanilla bean because the little black seeds look pretty. If you do not have a bean, vanilla extract works too. Finally, you need more white sugar for the very top. This is the sugar we will melt later. These items are easy to find at any grocery store near you.
- 2 cups of heavy whipping cream
- 5 large egg yolks
- 1/2 cup white sugar for the custard
- 1 tablespoon vanilla extract or 1 vanilla bean
- 1/4 cup white sugar for the burnt top
- A tiny pinch of salt
The Right Tools for the Job

Having the right tools makes the work much faster. You need small dishes called ramekins. These are usually round and made of white ceramic. They can go in the oven without breaking. I suggest using the shallow ones. If the dish is too deep, the middle might stay runny while the edges get too hard. Shallow dishes give you more space for that crunchy sugar top anyway.
You also need a big baking pan. This pan must be deep enough to hold water. We will put the small dishes inside this big pan. A whisk and a mixing bowl are also on the list. If you want the sugar top to be perfect, a small kitchen torch is the best tool. Some people use the oven broiler, but a torch is much easier to control. It is also fun to use!
How to Make the Perfect Custard
Now that you have your tools, it is time to start cooking. The custard is the heart of the dessert. It should be very smooth and not have any lumps. I remember the first time I made this, I cooked the eggs too fast. They turned into scrambled eggs! It was a big mess and tasted bad. I learned that you have to be very gentle with the heat. Slow and steady wins the race when you work with eggs and cream.
The goal is to warm the cream and then mix it with the eggs slowly. This is called tempering. It stops the eggs from getting shocked by the heat. If you go slow, the custard will be like silk. It will feel very fancy when you take a bite. Follow these steps carefully to make sure your custard is the star of the show.
Step One Mixing and Heating

First, turn your oven on to 300 degrees. While that warms up, put your cream and vanilla in a small pot. Put the pot on the stove over medium heat. You do not want the cream to boil. Just wait until you see tiny bubbles around the edges. This takes about five minutes. Turn off the heat as soon as it gets hot. If you are using a vanilla bean, let it sit in the hot cream for a bit to get all the flavor out.
While the cream heats up, put your egg yolks and sugar in a bowl. Whisk them together until they look pale yellow. This usually takes about a minute of fast whisking. Do not do this too early or the sugar might make the yolks grainy. Wait until the cream is almost ready. This keeps the mixture fresh and ready for the next big step.
- Preheat your oven to 300 degrees F.
- Heat cream and vanilla in a pot until hot but not boiling.
- Whisk egg yolks and sugar in a bowl until light yellow.
Step Two The Water Bath Secret

Now you have to mix the hot cream into the eggs. Pour a tiny bit of cream into the eggs and whisk fast. Keep doing this until all the cream is in the bowl. Then, pour the mix into your ramekins. Put the ramekins inside the big baking pan. Now, here is the secret: pour hot water into the big pan. The water should come halfway up the sides of the small dishes. This is called a water bath.
The water keeps the custard from getting too hot. It acts like a blanket that protects the eggs. Without the water, the custard would crack or get bubbly. Put the whole pan in the oven very carefully. You do not want water to splash into the custard. Bake them for about 35 to 40 minutes. They are done when the edges are set but the middle still jiggles like jelly when you move the pan.
Recipe Quick Info
- Prep Time: 15 minutes
- Cook Time: 40 minutes
- Servings: 4 people
- Difficulty: Medium
Step Three Cooling and Chilling

Once the custards are done, take them out of the water bath. Let them sit on the counter until they are not hot anymore. Then, put them in the fridge. They need to stay there for at least four hours. I usually leave mine in the fridge overnight. This makes sure they are cold all the way through. If you try to eat them warm, the texture will be weird and soft.
Cover each dish with some plastic wrap so they do not smell like other food in the fridge. This wait is the hardest part! But it is very important. The cold custard makes the hot sugar top feel even better when you eat it. FYI, you can keep these in the fridge for up to two days before you add the sugar. This makes it a great dessert to make before a big party.
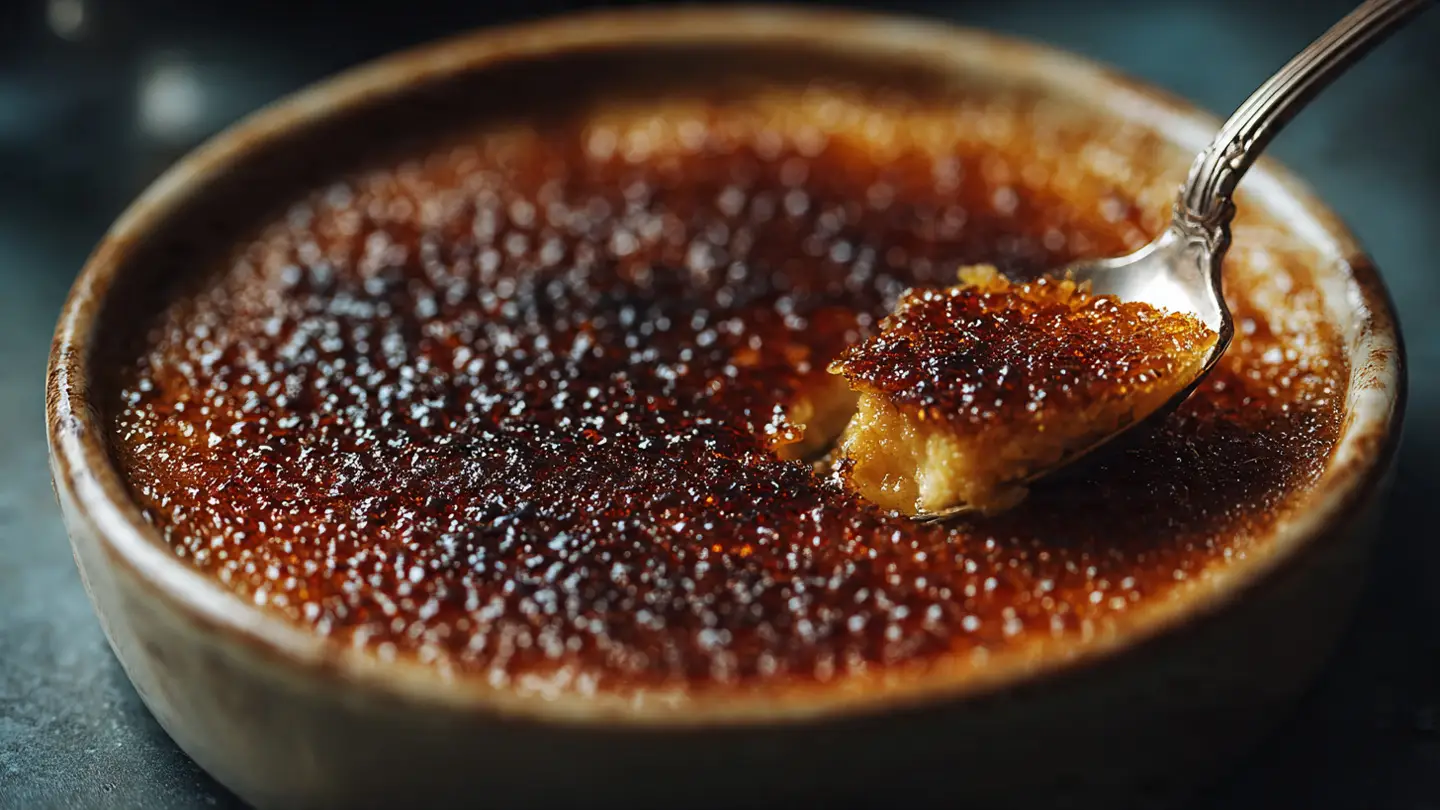
The Best Part The Burnt Sugar Top
This is the part everyone waits for. Burning the sugar is what makes this dessert special. In French, “brulee” means burnt. We are going to turn plain white sugar into a hard, golden sheet of candy. It smells like toasted marshmallows when you do this. It is very satisfying to watch the sugar melt and turn brown right before your eyes. You have to be careful not to overdo it, though.
If you burn the sugar too much, it will taste bitter. You want a dark gold color, not black. I once let the torch stay in one spot too long and the sugar caught on fire! Don’t worry, it goes out fast, but it is better to keep the torch moving. This part happens right before you serve the food. If you do it too early, the sugar will get soft in the fridge. We want that crunch!
Using the Kitchen Torch

Take your cold custards out of the fridge. Use a paper towel to gently dab any moisture off the top. If the top is wet, the sugar will just melt into syrup. Sprinkle about one teaspoon of sugar over the top of each dish. Shake the dish side to side so the sugar covers every bit of the custard. You want a thin, even layer of sugar. Too much sugar makes a crust that is too thick to break.
Turn on your torch and hold it a few inches away. Move the flame in circles over the sugar. Watch it turn from white to gold to brown. It will bubble and look like liquid for a second. Then it will get hard. Do this for all the dishes. Let them sit for two minutes so the sugar can get hard like glass. This is the moment where you feel like a real pro. It looks so elegant!
Tips and Variations

You can change the flavor of your creme brulee very easily. Instead of vanilla, you could use a little bit of lemon zest or even some espresso powder. Some people like to put a few fresh berries at the bottom of the dish before pouring in the custard. This adds a nice surprise when you reach the bottom. IMO, the classic vanilla is still the king, but it is fun to try new things once you learn the basics.
If you do not have a torch, you can use your oven. Put the sugar-covered dishes on the top rack under the broiler. Watch them every second! The broiler is very hot and can burn the sugar in a heartbeat. It also warms up the custard more than a torch does, so it is not quite as good. But it works if you are in a pinch. Just be sure to serve them fast if you use the oven method.
Expert Baking Tips
- Dry the Top: Always wipe the top of the cold custard before adding sugar. Moisture is the enemy of a crunchy top.
- Strain the Mix: Pour your liquid custard through a fine sifter before baking to remove any tiny cooked egg bits.
- Room Temp Eggs: Let your eggs sit out for 20 minutes before starting so they mix better with the sugar.
Serving Suggestions

When you serve this, it is best to do it right away. The contrast between the cold custard and the warm, hard sugar is amazing. I like to put my dishes on a pretty plate with a small spoon. You can add a single raspberry or a leaf of mint on top to make it look like it came from a fancy cafe. It is a light dessert, so it is perfect after a big dinner. No one will believe you made it yourself!
Make sure to give everyone a spoon that is strong enough to crack the sugar. That first “crack” sound is the best part of the whole meal. If you have leftovers, they will still taste good, but the sugar will turn into liquid by the next day. It is a “eat it now” kind of treat. If you have extra custard that you haven’t torched yet, just keep it in the fridge until you are ready for a snack. It stays good for a couple of days.
Questions People Often Ask
Why is my custard still runny after baking?
You may not have baked it long enough or the water wasn’t hot. It should jiggle like jelly, not move like milk. Put it back in for five more minutes and check again.
Can I use low-fat milk instead of heavy cream?
I do not recommend this. Low-fat milk will not set properly and the taste will be very thin. This dessert needs the fat from the cream to be thick and smooth.
What if I don’t have a kitchen torch?
You can use the broiler in your oven. Put the dishes on the top rack for 1-2 minutes. Watch them the whole time so they don’t burn too much!
How long can I keep the custard in the fridge?
The baked custard stays good for about 3 days. Do not add the sugar top until you are ready to eat it, or the crust will get soggy and soft.
Do I have to use a water bath?
Yes! The water bath is very important. It keeps the eggs from cooking too fast and turning into a lumpy mess. It makes the custard silky and perfect.
Final Thoughts on This Dessert
You now know how to make a beautiful creme brulee at home. It is a simple dessert that uses just a few items but makes everyone feel special. Just remember to be patient with the heat and always use a water bath. You will love the sound of that first sugar crack. Happy baking and enjoy your sweet treat!