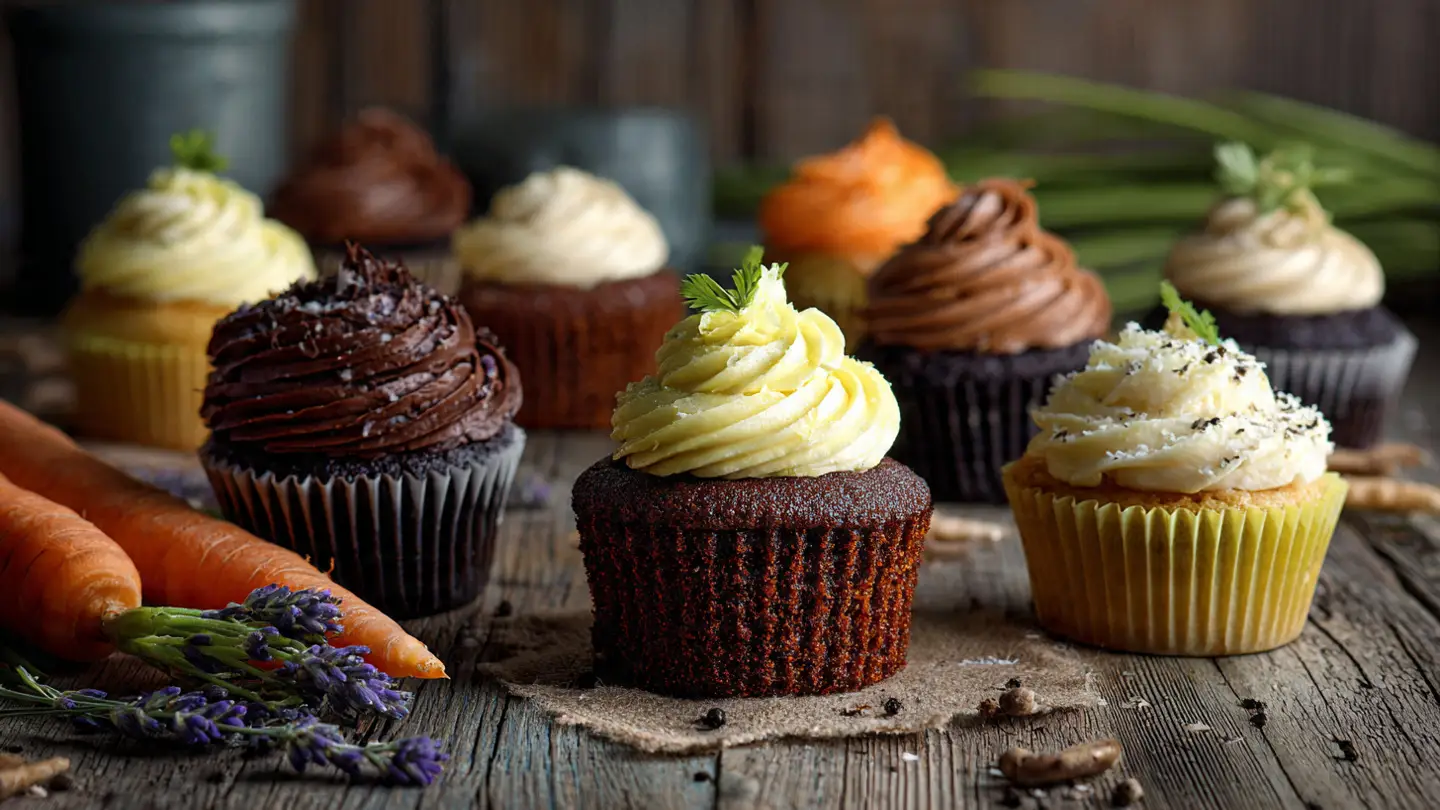
Indulgent Chocolate Peanut Butter Cupcakes
Everyone loves a good treat. If you like candy, you probably love the mix of chocolate and peanut butter. It is one of the best pairs in the world. I have spent a lot of time in my kitchen trying to make the perfect cupcake. I wanted something soft, dark, and very sweet. After many tries, I finally found the best way to do it. These cupcakes are like a dream in a paper liner.
Today, I am going to show you how to bake these from scratch. You do not need to be a pro. You just need a bowl, a spoon, and a big appetite. We will make a chocolate cake that stays moist for days. Then, we will top it with a fluffy frosting that tastes just like the inside of a peanut butter cup. It is a simple process, and the result is amazing.
Check out my tips below to get started on your baking adventure.
The Secret to Great Homemade Cupcakes
Baking can feel scary sometimes. I used to think everything had to be perfect or the cake would fail. One time, I forgot to add the eggs until the very end. The cakes came out flat and hard like rocks. I felt so sad, but I learned a big lesson. You have to follow the steps in order. These cupcakes work because we use oil instead of butter. Oil keeps the cake very soft even when it is cold. This is great if you want to keep them in the fridge.
Another secret is the cocoa powder. I like to use dark cocoa for a deep color. It makes the peanut butter stand out even more. You also need to make sure your ingredients are not too cold. Room temperature milk and eggs help everything mix well. If the batter is smooth, the cake will be fluffy. Trust me, it makes a huge difference in how they feel when you take a bite.
The Best Ingredients for the Batter

To start, you need the right stuff. You likely have most of these in your pantry right now. We use all-purpose flour as the base. It gives the cake enough strength to hold the heavy frosting. For the chocolate taste, buy a good unsweetened cocoa powder. Since the frosting is very sweet, the cake does not need to be sugary. We use both white sugar and a little bit of brown sugar. The brown sugar adds moisture and a nice flavor.
Do not forget the leavening agents. You need baking soda and baking powder. These are like tiny balloons that lift the cake up while it bakes. For the liquid part, we use milk and a little bit of sour cream. Sour cream might sound weird for a cake, but it is a pro tip. It adds a tiny bit of tang and makes the crumb very tender. If you do not have sour cream, plain yogurt works too. Lastly, use a neutral oil like vegetable or canola oil.
How to Mix the Perfect Batter

Mixing is where the magic happens. I always start by putting my dry ingredients in a big bowl. This includes the flour, sugars, cocoa, and salt. I use a whisk to stir them together. This gets rid of any big lumps. Lumps are the enemy of a good cupcake. If you see big chunks of cocoa, you might want to sift it through a mesh trainer first. It takes an extra minute, but it is worth it for a smooth cake.
Next, make a small hole in the middle of the dry stuff. Pour in your oil, eggs, and milk. Use a large spoon or a whisk to mix it slowly. Do not beat it too hard! If you mix it too much, the cake will be tough. You want to stop as soon as you do not see any more white flour. The batter will look thin, and that is okay. Thin batter actually rises better in the oven. It creates those nice domes on top that are perfect for holding lots of frosting.
Baking Tips for Level Tops

Getting your cupcakes to look like they came from a bakery is easy. First, do not fill the liners all the way to the top. This is a mistake I made for years. If you fill them too high, they spill over the edges and make a mess. Fill each one about two-thirds full. This gives them room to grow. I like to use an ice cream scoop to do this. It makes sure every cupcake is the same size. This way, they all finish cooking at the same time.
Set your oven to 350 degrees. Make sure it is fully hot before you put the tray in. Bake them for about 18 to 20 minutes. You can tell they are done when you poke the top with a toothpick and it comes out clean. If there is wet batter on the stick, leave them in for two more minutes. Once they are done, take them out of the hot pan right away. If they stay in the pan, they keep cooking and can get dry. Let them cool on a wire rack until they are cold to the touch.
Making the Creamy Peanut Butter Frosting

This frosting is the best part. It is salty, sweet, and very creamy. You need creamy peanut butter for this, not the crunchy kind. The crunchy kind will clog up your piping bag and look messy. I use softened butter and mix it with the peanut butter until it is one solid color. Then, I slowly add powdered sugar. This is the part where you need to be careful. If you dump all the sugar in at once, a cloud of white dust will cover your whole kitchen! FYI, I have done this, and it is not fun to clean up.
To make it fluffy, add a splash of heavy cream. Beat it on high speed for three minutes. It will turn a lighter color and feel like a cloud. If it feels too stiff, add a tiny bit more cream. If it feels too runny, add more sugar. I also like to add a pinch of salt. It helps cut through the sugar so you can eat the whole thing without feeling sick. This frosting is so good you might want to eat it with a spoon. I won’t tell anyone if you do!
Decorating Like a Pro

Now comes the fun part. You can just spread the frosting on with a knife, and it will taste great. But if you want them to look fancy, use a piping bag. I like using a large star tip. Start in the middle of the cupcake and move in a circle toward the edge. Then, spiral back up to the center to make a tall peak. It looks like a mountain of peanut butter goodness. If you don’t have a piping bag, you can use a plastic storage bag and cut the corner off. It works just as well!
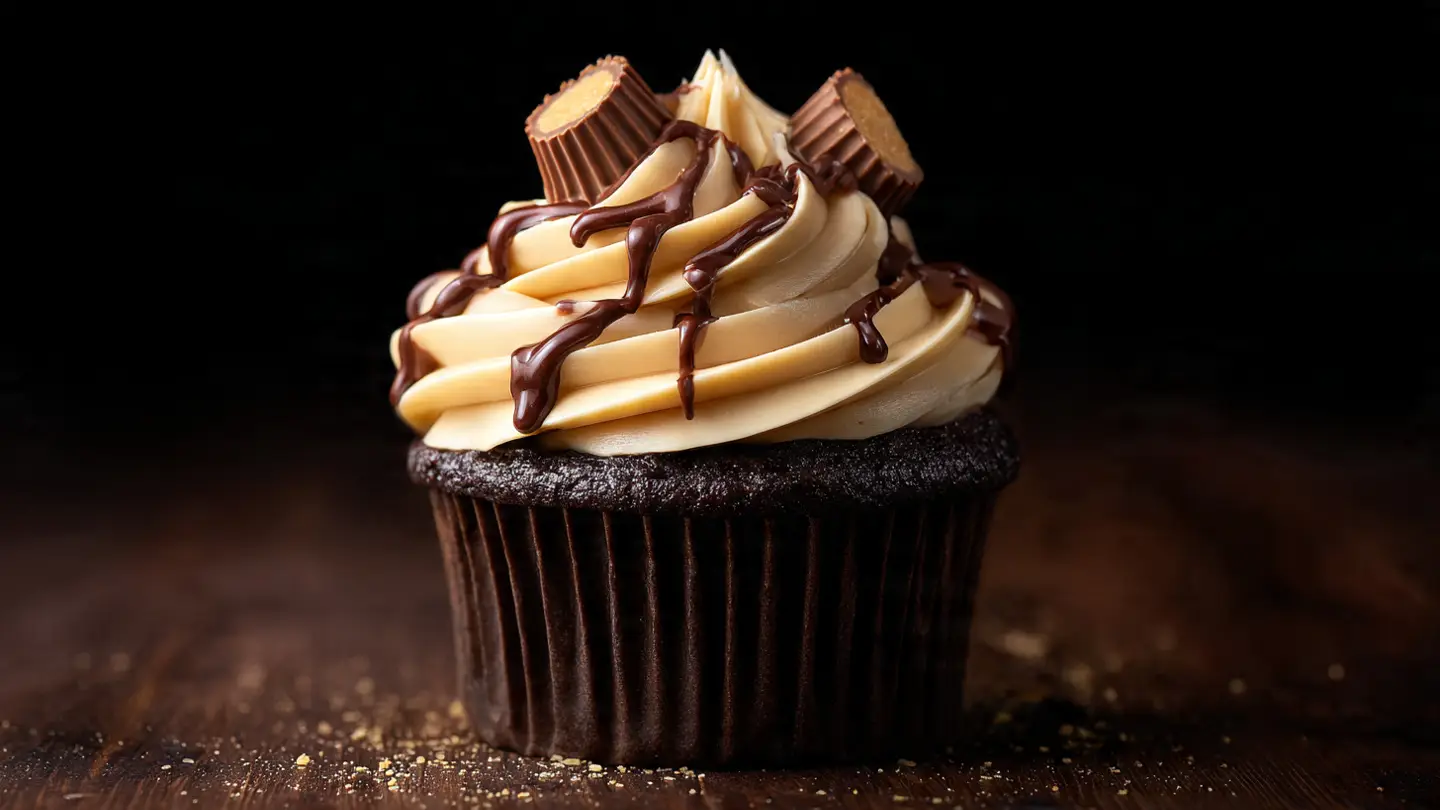
To make them look extra special, I add a few toppings. A drizzle of melted chocolate looks amazing. You can also crush up some peanuts and sprinkle them on top. My favorite way to finish them is to put a mini peanut butter cup right on the peak. It tells everyone exactly what is inside. These cupcakes are very rich, so one is usually enough for most people. They look so good that people will think you bought them at a fancy store. It is our little secret that they were so easy to make.
Serving and Storing Your Treats

These cupcakes are a hit at parties. I usually serve them on a big wooden board or a cake stand. They go perfectly with a cold glass of milk or a hot cup of coffee. Since the frosting has butter in it, it can get soft if the room is very warm. If you are having an outdoor party in the summer, keep them inside until it is time to eat. These are also great for bake sales because they look so impressive. Everyone loves the chocolate and peanut butter combo.
If you have leftovers, you can keep them in a container. They stay fresh on the counter for two days. If you want them to last longer, put them in the fridge for up to five days. Just remember to let them sit out for twenty minutes before eating. Cold frosting is hard and doesn’t taste as good. You can even freeze the cake part without frosting for a month! Just thaw them out and add fresh frosting when you are ready. It is a great way to have treats ready for any time you have a craving.
Recipe Quick Info
- Prep Time: 20 minutes
- Cook Time: 20 minutes
- Servings: 12 cupcakes
- Difficulty: Easy
The Full Ingredient List
Before you start, make sure you have everything ready. It is much easier to bake when you don’t have to stop and look for things. I like to measure everything out first. This is called prep work. It keeps the kitchen clean and helps you focus on the recipe. Here is what you will need for the cakes and the frosting. This recipe makes exactly one dozen cupcakes, which is the perfect amount for a family.
- 1 1/2 cups all-purpose flour
- 1 cup granulated white sugar
- 1/2 cup unsweetened cocoa powder
- 1 teaspoon baking soda
- 1/2 teaspoon salt
- 1/2 cup vegetable oil
- 1/2 cup sour cream (or plain yogurt)
- 2 large eggs (room temperature)
- 1 teaspoon vanilla extract
- 1/2 cup whole milk
- 1/2 cup creamy peanut butter (for the frosting)
- 1/2 cup unsalted butter (softened)
- 2 cups powdered sugar
- 2 tablespoons heavy cream
Step-by-Step Instructions

- Heat your oven to 350 degrees and put paper liners in a cupcake pan.
- In a large bowl, whisk together the flour, sugar, cocoa, baking soda, and salt.
- In a smaller bowl, mix the oil, sour cream, eggs, and vanilla. Stir in the milk last.
- Pour the wet ingredients into the dry ingredients and whisk until smooth.
- Fill the liners 2/3 full and bake for 18-20 minutes.
- Let the cupcakes cool completely on a wire rack.
- For the frosting, beat the butter and peanut butter together until smooth.
- Add powdered sugar one cup at a time while mixing on low.
- Add the heavy cream and beat on high for 3 minutes until fluffy.
- Pipe or spread the frosting onto the cooled cupcakes and enjoy!
Common Questions About Baking
Can I use natural peanut butter?
Natural peanut butter often has oil on top. This can make your frosting too runny or oily. It is best to use regular creamy peanut butter for the best texture.
What if I don’t have sour cream?
You can use plain Greek yogurt instead. It has the same thick texture and tang. If you have neither, you can use more milk, but the cake won’t be as soft.
Why did my cupcakes sink in the middle?
This usually happens if you open the oven door too early. The cold air makes them drop. Also, check that your baking soda is fresh and not expired.
How do I store these cupcakes?
Keep them in an airtight container at room temperature for 2 days. For longer storage, put them in the fridge for up to 5 days so they stay fresh.
Can I make these gluten-free?
Yes! You can use a 1-to-1 gluten-free flour blend. Make sure it has xanthan gum in it so the cupcakes don’t crumble apart when you eat them.
Time to Enjoy Your Sweets
You did it! Making these chocolate peanut butter cupcakes is a great way to spend an afternoon. They are rich, soft, and much better than anything from a box. IMO, the best part is sharing them with friends. Now go grab a cupcake and enjoy your hard work!